Making circles with router
Or read this in Russian
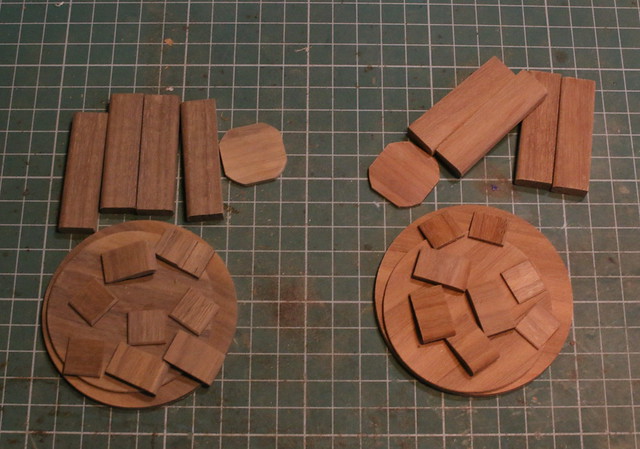
I’m all into these Youtube videos, making them is a very exciting process, so I totally forgot that my camera can make photos too! 🙂 So far, I made all the parts for the tables in art deco style. I needed to cut four perfect circles, so it was time to make one more jig (it was the third I think, previous jigs disappeared somehow).
You can make perfect circles in different ways:
- to be perfect at scrollsaw and cut everything by hand.
- Make a jig for a tablesaw.
- Make a jig for a bandsaw, but I think my Metabo bandsaw is too big for the scale.
- Make a jig for a router, which I’ll show.
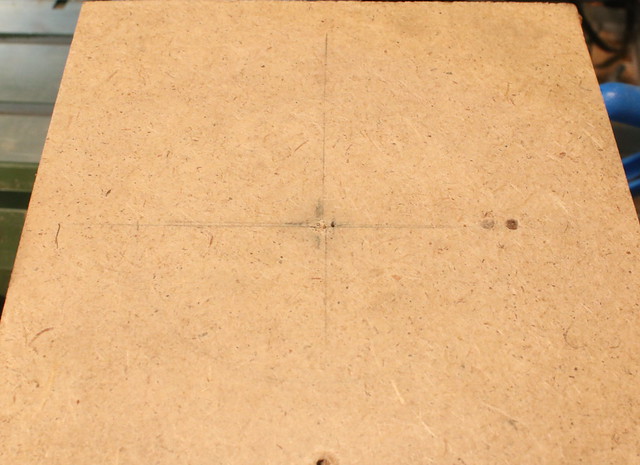
The jig is very simple and it works. You need to take some scrap MDF piece and a brass nail, you hammer it into MDF, and basically this is it.
You can see the nail from one side (above)
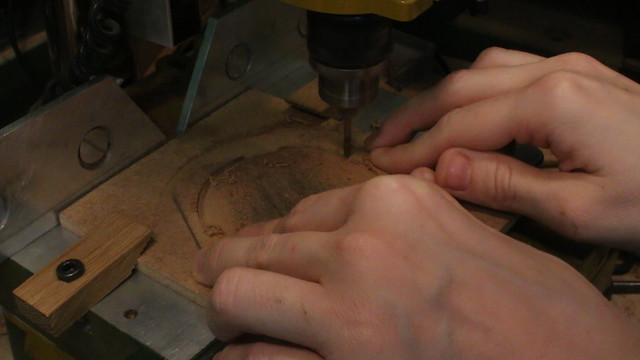
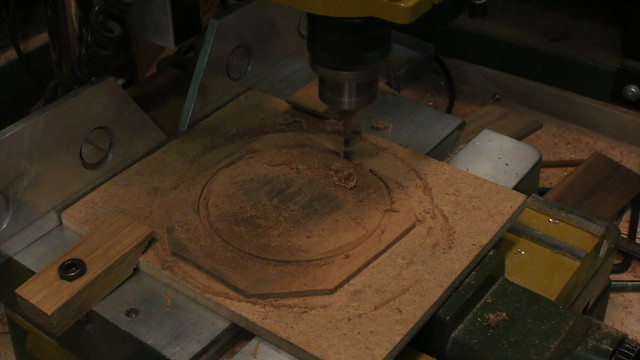
And from the other side, that we need. Next you fix the jig to the router table, hammer you table top piece onto MDF. You also need to measure the distance between the center (the nail) and the router bit – it should be the radius of your table top.
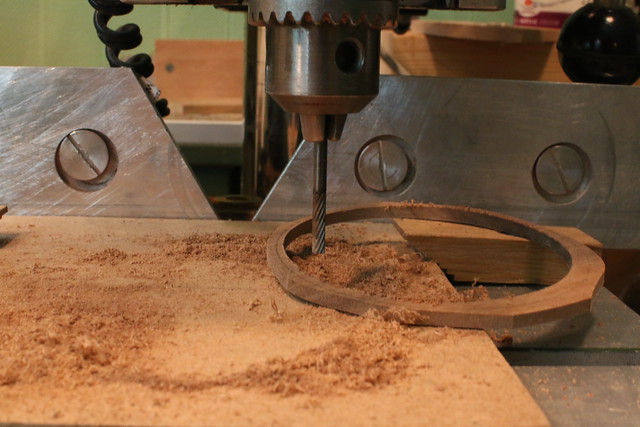
Below – the photos of the process.
 Русский
  English

Better than tring to cut it with a fret saw =0) Thank you for sharing