

Learning Metal Engraving: Week 1
Where else should I write about this if not on my own website? After a break of many months, I have returned to learning hand engraving.
It has now been exactly a year since my trip to St. Petersburg, where I took a course in using GRS pneumatic engraving tools. It was an incredibly exciting and productive week. I came home both inspired and somewhat daunted: inspired by the remarkable skill of the school’s instructors, and daunted by the amount of equipment I would need either to replace or acquire.
I am still searching for my ideal setup. I liked the GRS system, but it is expensive, and I am slightly alarmed by the compressor constantly switching on above my head. Yes, the compressor in my workshop sits on a shelf just below the ceiling, directly above my workbench. How do you like that for a setup?
There is also a Russian-made option: Peresedov’s version of the Valtman system, which is what I currently use. I am happy with it in every respect except one: compared with the GRS system, I find the foot pedal rather difficult to control. The GRS pedal seems to respond more smoothly, making it easier to find exactly the right amount of pressure. I do not know how to explain it more precisely—sorry. 🙂
Then there is the PulseGraver, which Roman Butin also uses. It does not require a compressor at all. It seems almost ideal, but it is expensive too, so for now I can only gaze wistfully in its direction. It is sold only in the US. I am not opposed to compressors in principle; I would simply prefer a system that could run with a less demanding compressor setup. I am also looking at Roman Donchenko’s equipment. Naturally, none of these options is cheap, so I need to keep saving my pennies.
Meanwhile, I am working with what I have. To begin with, I went back through the videos I bought last year—the ones by Sam Alfano—which came with PDFs containing designs for practice plates. I found a few more on forums, and asked AI to generate some additional designs in vector format. Altogether, I now have quite an impressive collection.
And then, of course, there is the simple matter of practicing straight lines. What could be easier? Incidentally, it is recommended that you spend 50–100 hours on straight lines alone. In my previous post, I mentioned spending 76 hours on the embroidery, and that comparison really made me stop and think. Fifty to one hundred hours is a huge amount of time!
Anyway, I bought some more brass and cut it into plates. I have already completed several of them, using a 130° graver.


In the photo above, I had just tried sharpening a new graver that morning, while reminding myself which bit needed to be tilted where. 🙂 I have also started gathering all my notes from the course, videos, forums, and books I have read. I think I need to bring everything together in a single notebook somehow, although I have not yet decided exactly how.
I never managed to cut the scroll on the plate because I ran out of time. Altogether, I spent around five hours practicing this week, doing a little at a time before work. I have no particular expectations at this stage. I understand that learning a new skill from scratch is difficult, but even the smallest amount of progress makes me very happy.
At the course, I was enormously impressed by the practice plates with laser-engraved designs—the lines were incredibly fine and precise. I do not have the necessary equipment for that, so I simply transfer my designs with acetone. Unfortunately, I have already damaged some of the grid markings on my cutting mat.
Next week, I plan to resume my daily sketches of scrollwork and my study of ornament, which I was doing while staying at the country house. I also need to keep practicing my sharpening—it seems to be going fairly well.

Panels for a Japanese Screen
This could have been the perfect “How I Spent My Summer” school essay! I had plenty of plans for the summer and was once again heading off to the country. Naturally, I don’t have a workshop there. Last year, I took my petit point project with me. I wouldn’t say I did a great deal, but I did make some progress. That will get a post of its own. This time, I decided to take my woodcarving tools as well. In went a jeweller’s saw, needle files, a rotary tool, and an assortment of other small tools. It all fit into two little cases.
My original plan was to work through the lessons in a woodcarving manual from 1909, which I’d found on archive.org back in the spring. I’d usually passed books like this by: too much geometric carving and too many odd projects that had little relevance to my work. This book was an exception, with plenty of practical advice and interesting, unusual lessons and projects that I actually wanted to try. I brought along some ivorywood and pearwood for my experiments. But that’s another story. And, yes, another post.Initially, I planned to work through wood carving lessons from a 1909 textbook that I found on archive.org back in the spring. I used to avoid such textbooks—they had a lot of geometric carving and strange projects that weren’t applicable to my field. This textbook was an exception: lots of practical advice, interesting non-trivial lessons and projects I actually wanted to recreate. For my experiments I brought ivorite and pear wood with me. But that’s not what this is about. Again, I’ll make a separate post.
Besides working through the book, I wanted an actual piece to work on. Something that called for slow, unhurried handwork. Something carved. Or perhaps marquetry. As it happens, I managed to do both, with a few qualifications. Before leaving, I even managed to prepare working drawings for several different pieces. Spoiler: I never started any of them!
Then I suddenly remembered a piece I’d once been completely in love with, but had never dared to attempt. It was a Chinese cabinet, carved from top to bottom. Just looking at it was intimidating! While searching for similar pieces, hoping to find something a little less daunting in scale, I came across this screen. This one was Japanese, made for export. Do I even need to say that I’ll be writing a separate post about that too? I’m keeping the original photo under wraps for now..
What really caught my attention about this screen wasn’t the panels themselves, but the material used to decorate the frames: red urushi lacquer. I could hardly believe my eyes when I saw it for sale on Ozon, our local Amazon. Several colors, too, and even the base lacquer for the first priming coat. Of course, I bought the lot and tried it all out. And yes, I owe you a separate post about that as well.
I had some doubts about the lacquer and how carving it would go. Preparing the frames is a lengthy process, so I started working on the panels at the same time. There will be four panels, with applied carved decoration on both sides. That’s quite unusual for me, since most European screens are decorated on just one side.
The decorative elements on the original piece were made from lacquer, mother-of-pearl, various woods, and ivory. I’d stocked up on a beautiful ivory substitute called Elforyn, so that’s what I used. I made drawings and sketches for the panels, and then it was a matter of getting on with the carving. So far, I’ve managed to make two panels. Here’s how they looked at that stage.

Not everything worked on the first try. I ended up redoing one panel, and I’d still like to refine some details across the whole piece. Once I was back in my workshop at home and looked at a panel under the microscope, my confidence in both my skills and my eyesight began to wobble.
And the most exciting part of this project isn’t even the carving, but that striking background. The plan was to use royal blue. At first, I wasn’t sure it would look right, even though that was the exact color used on the original screen. I took a chance, and I absolutely loved the result.

For some reason, I was very nervous about this project as a whole. It’s quite different from my usual work, and still feels unfamiliar. The carved frames deserve special attention, too. I suppose I’m going through one of those phases in my work where I doubt everything, including my own abilities.
I’m working on the third panel now, with the same motifs: cranes, lotus flowers, and oak leaves. It’s such a lovely, peaceful scene, and I’m really enjoying working on it.
And on the original screen, at least according to what I’ve read, all the carved elements were made separately and attached using the same lacquer as an adhesive. I’m using wood glue 🙂
Petit point and a drawing
I’m busy making a new drawing for a French game table top, the inside part of it. Petit point insert is mounted on a cardboard already, the inside part was finished too, but I looked at it couple days ago and didn’t like it. I wanted to add some details, maybe change a color palette as well.
I really like this new version, I think I’ll use pear wood for the background, something bright like maple or birch for decoration and makore wood for the outside border.
Meanwhile, the porcelain plaques are finished, at least I think they are for now 🙂 But I don’t have the photos yet, stay tuned.

Chippendale Firescreen
After pretty successful experience with higher count petit point, I decided that I can make another screen, but this time on 90 count silk gauze. I found this screen in a book dedicated to Thomas Chippendale 300th anniversary of birth. It’s pretty tall 169.5cm high, the screen itself is pretty large too.
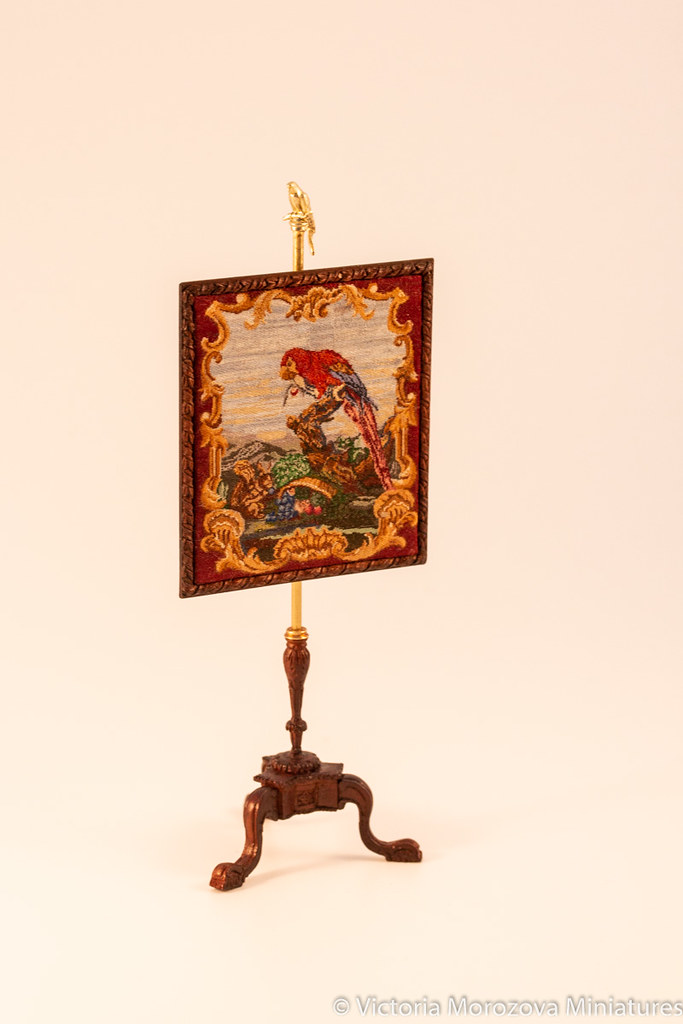
I should also say that the original screen is fully made of wood, in my version a pole and a finial are made of brass. The finial was traditional too, but I made a parrot 🙂
The screen is stitched on a 90 count silk gauze, with Chinese silk floss.


French Firescreen, the second version.
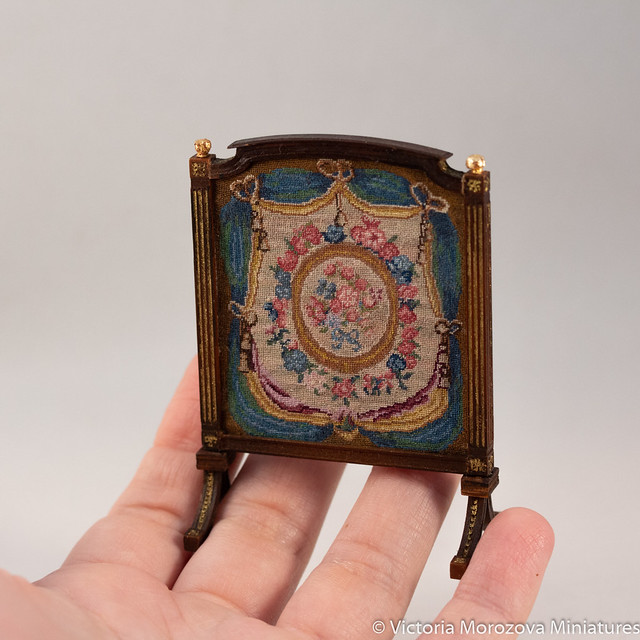
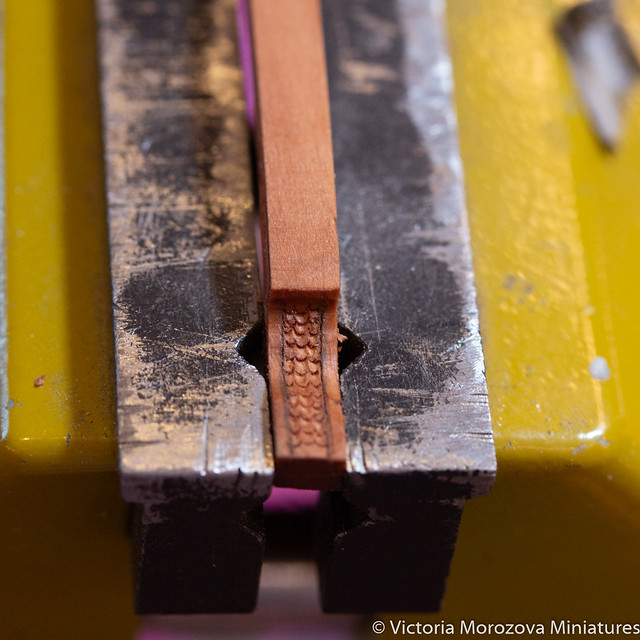
I don’t really understand how I missed that one on my blog, I took it to IGMA school last year and haven’t posted about it! This screen is a bit different, it has a higher count silk gauze (86) and different design, besides the frame has a different finish.
A bit of a process:
Brass table lamps in Victorian Style
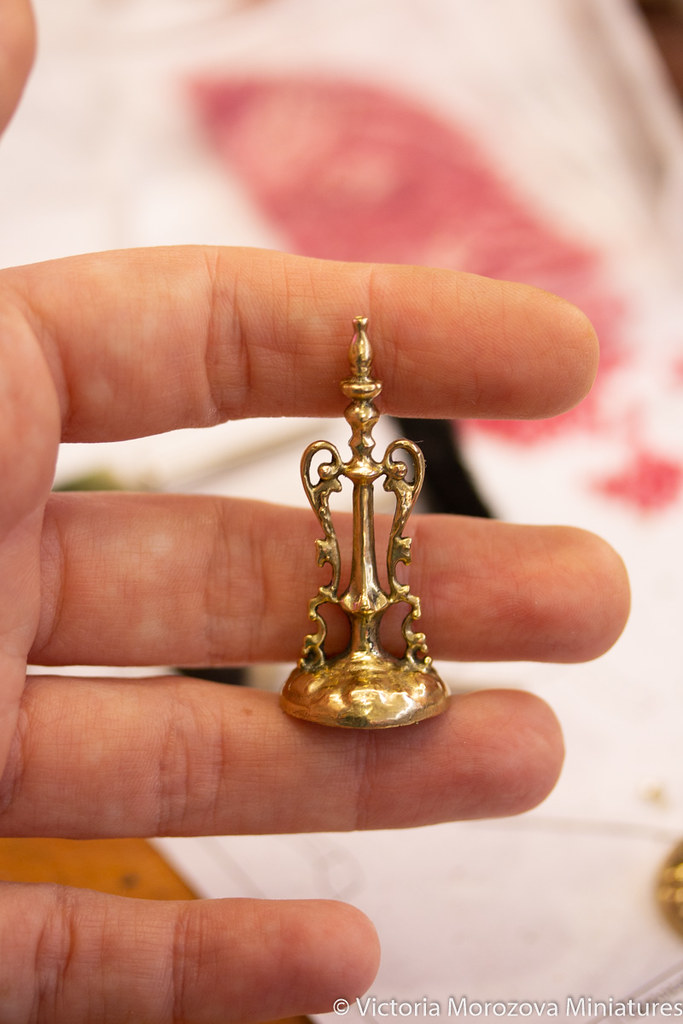
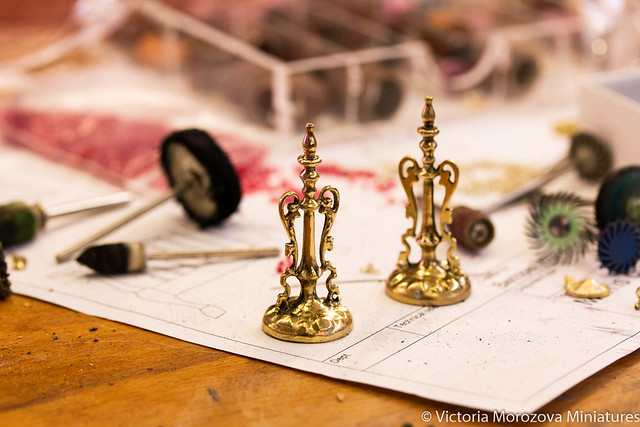
I continue my work on brass casting techniques, I really like the process of modeling and want to improve it. I started from simple brass lamps in Victorian style.
The lamp shades are covered with silk and decorated with 16/0 beads, I couldn’t find any smaller.
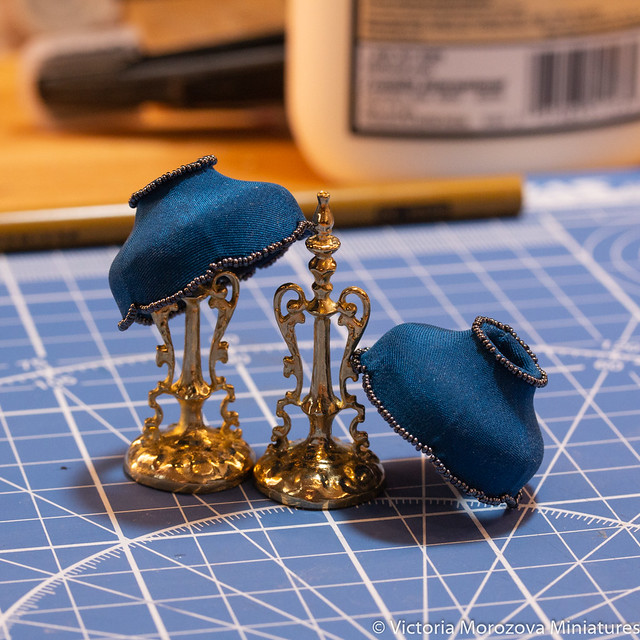
The lights are not working yet, they will be LED lights, but I also bought some traditional so maybe I’ll change them.
Adams style table
I’m a fan of on of the books on European furniture, almost every piece there is on my to-do list. This table happened to be the first one I actually made.
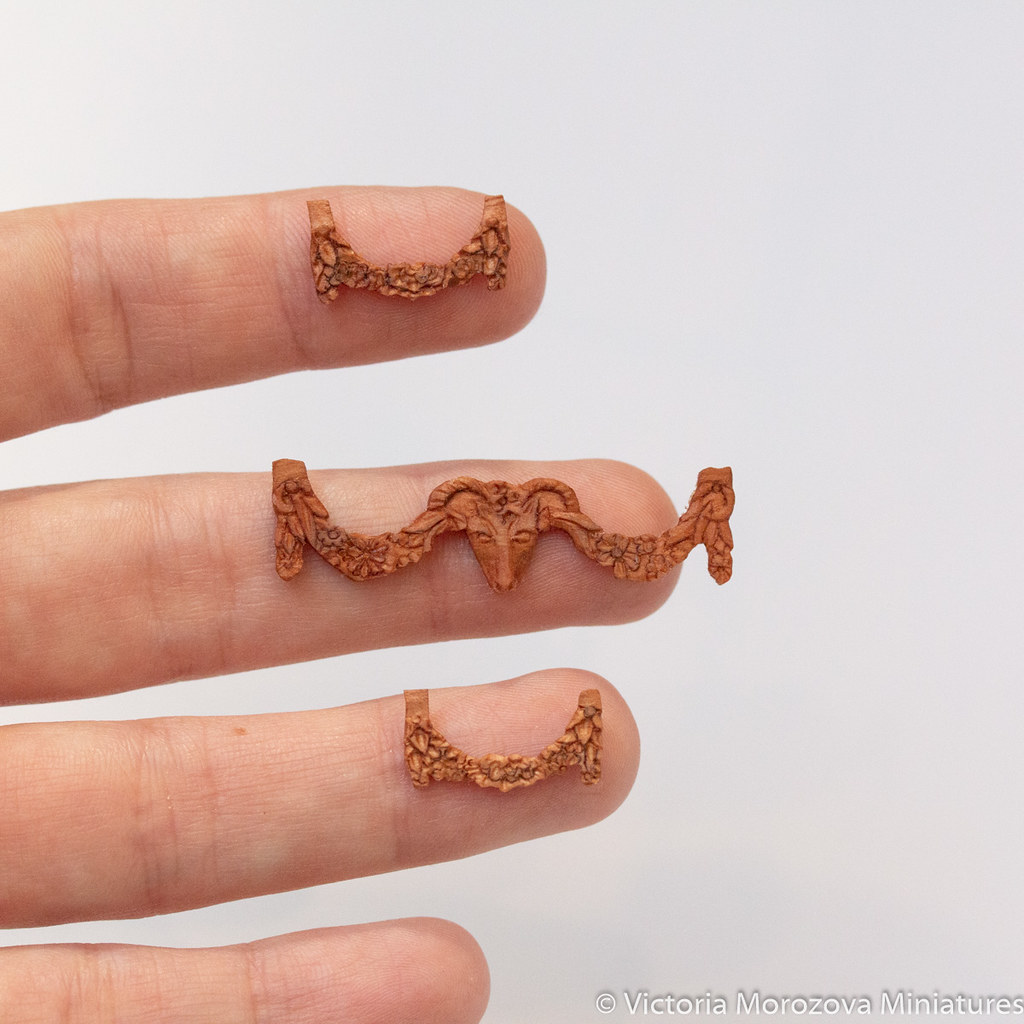
A bit of process below, I made several carved elements, all of them gone to my “virtual” trash bin. I wanted the carving to be more expressive.
French commodes. Part 2
I wrote about these commodes many months ago, I was hoping to be able to update my blog very often, but some commissions happened plus I was very busy for my Chicago show, so it’s my first time when I can finally get back to my blog.
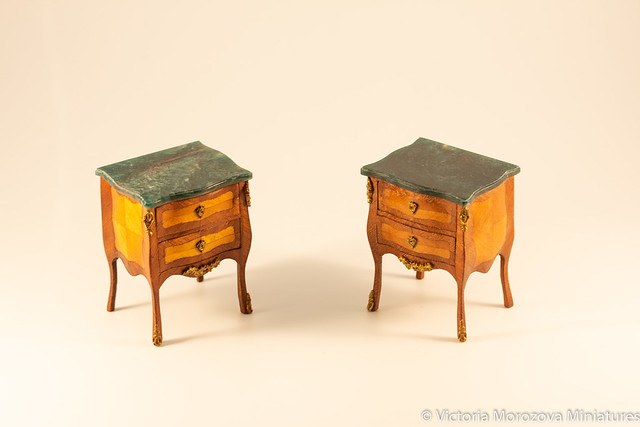
These two commodes are, of course, are done. They went to Tom Bishop Chicago International show, one of them came back to Moscow.
Литье латуни.
После долгих метаний и поисков, литейщик нашел меня сам 🙂 Несколько дней ожидания и мой первый комплект из латуни для мебели уже готов.
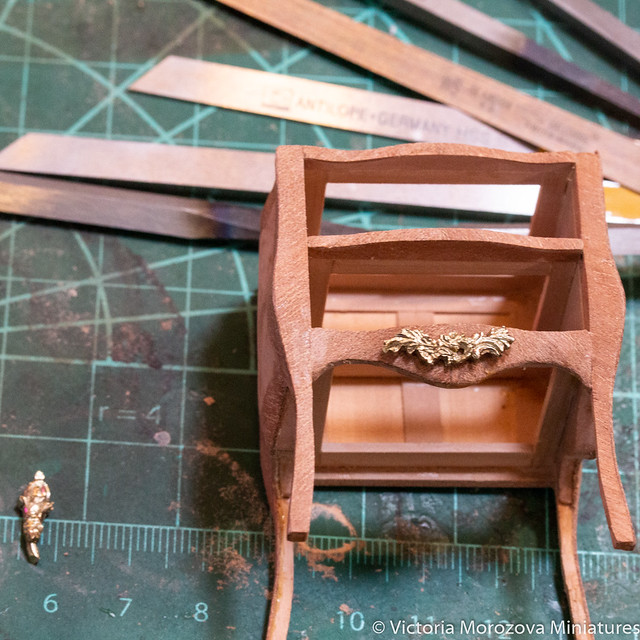
Результат меня очень и очень порадовал! Попробую еще чуток доработать отливки, но, в целом, для первого раза все вполне даже ничего.
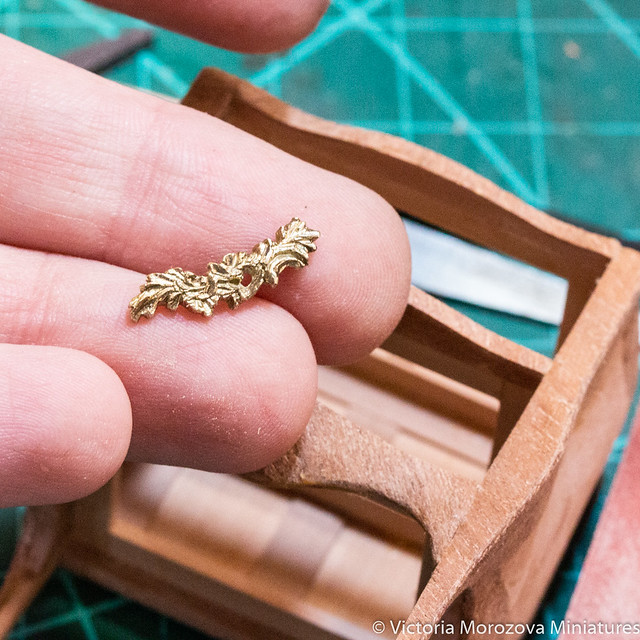
Я сразу пять комплектов себе заказала, полностью предмет покажу, когда соберу комод. Еще бы вот так найти умельцев, кто может делать каменные столешницы. Не хочется просить забугорных сотоварищей, если честно. Будем искать, что делать.
Но какие мысли меня посетили – этож сколько предметов я не хотела в свое время делать просто потому, что не знала с чего начать с этим художественным литьем. А на деле все не так страшно, немного мучений с воском, несколько неделей поисков литейщиков. И вот, результат. Теперь пора доставать с пыльной полки все те книжки, которые так вдохновляли, искать те предметы, что казались недоступными и начать уже делать и их.
Томас Чиппендейл, 300-летие со дня рождения и махагон.
Вот так бывает, когда совпадают несколько эпизодов в жизни, и уже начинает казаться, что в этом есть какой-то знак. В Инстаграм я подписана на несколько аукционных домов плюс несколько дилеров антикварной мебели из Англии, Швеции и так далее. Ну и еще есть аккаунты известных исторических поместий в Англии, где можно иногда и на детали интерьеров посмотреть да про выставки узнать. В этом году отмечается 300 лет со дня рождения Томаса Чиппендейла, который по праву считается Шекспиром среди краснодеревщиков. Человек удивительного таланта, сумевший задать моду на десятилетия вперед, спроектировавший множество предметов для самых известных домов Англии, ушел из жизни, оставив лишь небольшую мастерскую и кучу долгов своей семье. В 18 веке лорды, заказывавшие целые интерьеры мастерам, редко вовремя оплачивали работы. Так, за один из самых масштабных проектов, первый чек Томасу Чиппендейлу пришлось ждать около десяти лет.
После себя Чиппендейл оставил книгу-каталог мебели, где можно было увидеть предметы в стиле рококо и готики. Томас мог сделать буквально все -от небольших столиков до массивных зеркал и шкафов. Первый раз я просмотрела этот каталог лет восемь назад, сразу как увлеклась мебелью, и поняла, что смотреть на все это бесполезно, ну никак я не смогу ничего сделать оттуда.
Сейчас многое поменялось и я уже могу выбирать, как бы нагло это ни звучало 🙂 Уже что-то могу. И вот в свете того, что в этом году везде в Англии будут проходить специальные мероприятия и выставки, а дом Christie’s устроил грандиозную продажу мебели Чиппендейла, я решила устроить и себе год в его честь. Сделать хотя бы один предмет из его книги. В прошлом я уже делала lowboy в стиле Чиппендейла, это такая простая американская версия, но все же. В этот раз я решила сделать стол. Можно сказать, пальцем в книгу ткнула и стала делать чертежи (привлекли тут необычные ножки стола и очень тонкая резьба).
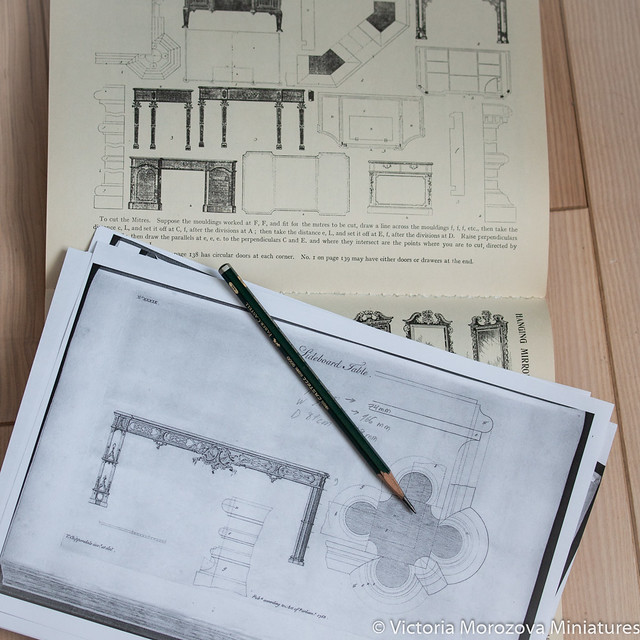
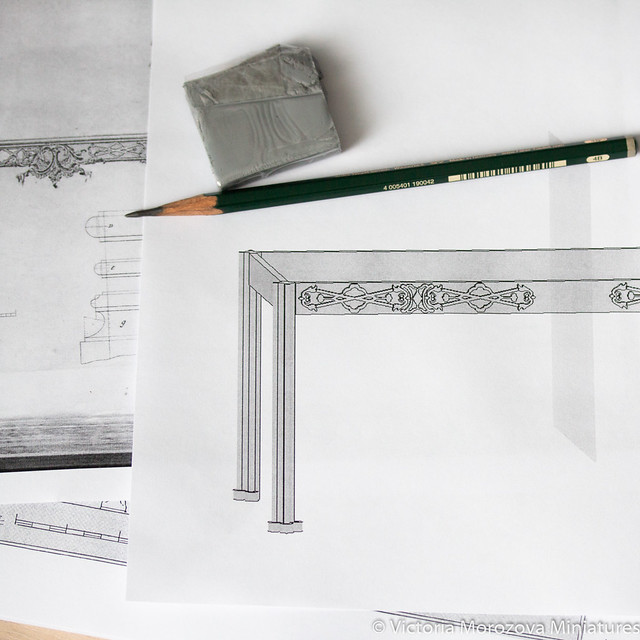
Пока сделала ну очень-очень обобщенный чертеж, лишь бы разобраться с пропорциями и прочим.
Кстати, да, в заголовке было упоминание махагона.