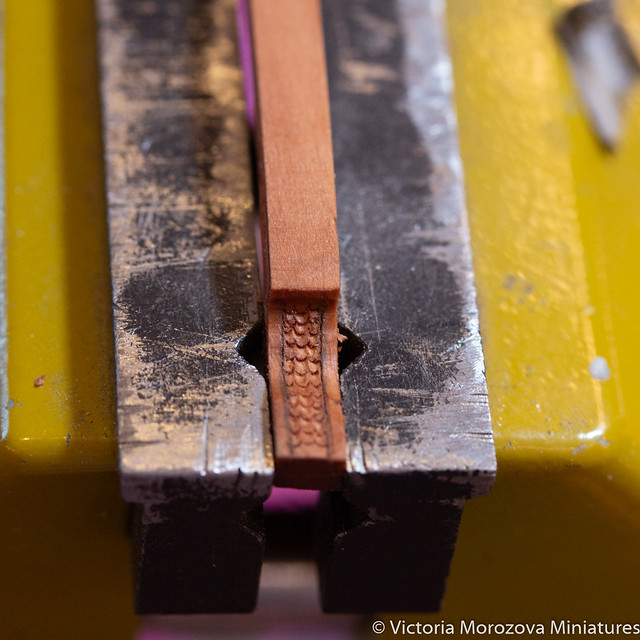
Panels for a Japanese Screen
This could have been the perfect “How I Spent My Summer” school essay! I had plenty of plans for the summer and was once again heading off to the country. Naturally, I don’t have a workshop there. Last year, I took my petit point project with me. I wouldn’t say I did a great deal, but I did make some progress. That will get a post of its own. This time, I decided to take my woodcarving tools as well. In went a jeweller’s saw, needle files, a rotary tool, and an assortment of other small tools. It all fit into two little cases.
My original plan was to work through the lessons in a woodcarving manual from 1909, which I’d found on archive.org back in the spring. I’d usually passed books like this by: too much geometric carving and too many odd projects that had little relevance to my work. This book was an exception, with plenty of practical advice and interesting, unusual lessons and projects that I actually wanted to try. I brought along some ivorywood and pearwood for my experiments. But that’s another story. And, yes, another post.Initially, I planned to work through wood carving lessons from a 1909 textbook that I found on archive.org back in the spring. I used to avoid such textbooks—they had a lot of geometric carving and strange projects that weren’t applicable to my field. This textbook was an exception: lots of practical advice, interesting non-trivial lessons and projects I actually wanted to recreate. For my experiments I brought ivorite and pear wood with me. But that’s not what this is about. Again, I’ll make a separate post.
Besides working through the book, I wanted an actual piece to work on. Something that called for slow, unhurried handwork. Something carved. Or perhaps marquetry. As it happens, I managed to do both, with a few qualifications. Before leaving, I even managed to prepare working drawings for several different pieces. Spoiler: I never started any of them!
Then I suddenly remembered a piece I’d once been completely in love with, but had never dared to attempt. It was a Chinese cabinet, carved from top to bottom. Just looking at it was intimidating! While searching for similar pieces, hoping to find something a little less daunting in scale, I came across this screen. This one was Japanese, made for export. Do I even need to say that I’ll be writing a separate post about that too? I’m keeping the original photo under wraps for now..
What really caught my attention about this screen wasn’t the panels themselves, but the material used to decorate the frames: red urushi lacquer. I could hardly believe my eyes when I saw it for sale on Ozon, our local Amazon. Several colors, too, and even the base lacquer for the first priming coat. Of course, I bought the lot and tried it all out. And yes, I owe you a separate post about that as well.
I had some doubts about the lacquer and how carving it would go. Preparing the frames is a lengthy process, so I started working on the panels at the same time. There will be four panels, with applied carved decoration on both sides. That’s quite unusual for me, since most European screens are decorated on just one side.
The decorative elements on the original piece were made from lacquer, mother-of-pearl, various woods, and ivory. I’d stocked up on a beautiful ivory substitute called Elforyn, so that’s what I used. I made drawings and sketches for the panels, and then it was a matter of getting on with the carving. So far, I’ve managed to make two panels. Here’s how they looked at that stage.

Not everything worked on the first try. I ended up redoing one panel, and I’d still like to refine some details across the whole piece. Once I was back in my workshop at home and looked at a panel under the microscope, my confidence in both my skills and my eyesight began to wobble.
And the most exciting part of this project isn’t even the carving, but that striking background. The plan was to use royal blue. At first, I wasn’t sure it would look right, even though that was the exact color used on the original screen. I took a chance, and I absolutely loved the result.

For some reason, I was very nervous about this project as a whole. It’s quite different from my usual work, and still feels unfamiliar. The carved frames deserve special attention, too. I suppose I’m going through one of those phases in my work where I doubt everything, including my own abilities.
I’m working on the third panel now, with the same motifs: cranes, lotus flowers, and oak leaves. It’s such a lovely, peaceful scene, and I’m really enjoying working on it.
And on the original screen, at least according to what I’ve read, all the carved elements were made separately and attached using the same lacquer as an adhesive. I’m using wood glue 🙂
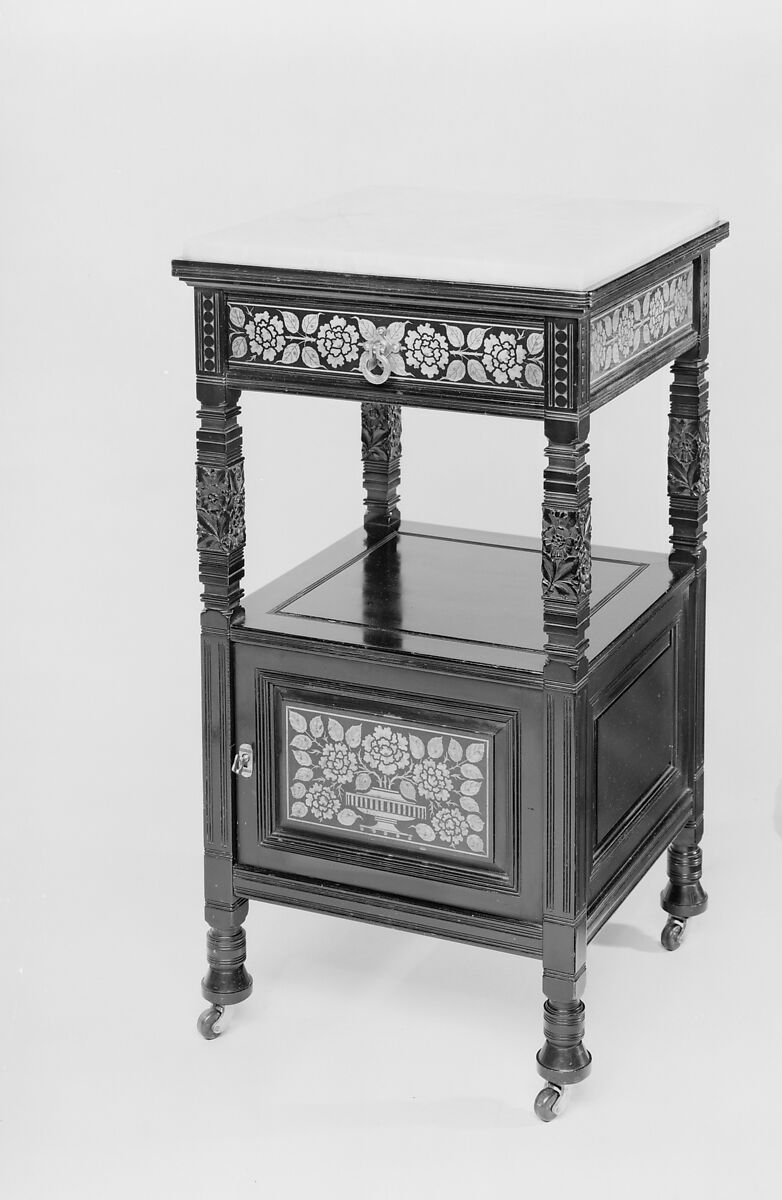
Anglo-Japanese Style Nightstand
This was one of the most interesting projects recently – a nightstand, a companion piece to my long-standing project, a bed in the Aesthetic Movement and Anglo-Japanese style. Generally, the style that the Herter Brothers developed in 19th-century New York. In one of my videos about this project, I already talked a bit about this style. And in the next video, I talked in more detail about the finished project.

So, for my client I decided to make a small series in this style, there aren’t many original pieces, but all of them are beautiful in their own way. A cabinet and an ottoman are in the plans for now.
The nightstand has many notable details: carving on the legs (black hornbeam, by the way), marquetry on the side panels and the table drawer, a working lock in the cabinet, casters with rubber rims. The original top was made of marble, but I made it from a very durable type of plaster.

The most difficult stage in the work, oddly enough, was assembly. I changed the order of operations and redid it several times. My favorite part was making the lock and key, the lock thickness is about 0.7 mm, I didn’t increase the thickness so that, first, it would be easier to install, and second, to stay more or less in scale. The casters are standard, except I added rubber rims, grooves were made in the brass casters themselves for them. It seems like a small detail, but it looks less ordinary.


The prototype nightstand is in the New York MET museum
Французский игровой столик – закончен.
The project I needed to finish two years ago. A French Game Table, the first one went to the auction at IGMA school. I was going to make two of them actually, but I didn’t have enough time to finish it. Besides, I realized that I needed to improve the overall design of the brass mounts, my porcelain painting skills needed an upgrade as well. The inside mount is designed and stitched by me on a 72 count silk gauze. The insert of such a complex form made me cry several times while mounting it, I’m still not very happy about it, but here it is. Sometimes I felt overwhelmed with the whole thing to be honest. I’m happy it’s done. Time to turn the page and move on.


Petit point and a drawing
I’m busy making a new drawing for a French game table top, the inside part of it. Petit point insert is mounted on a cardboard already, the inside part was finished too, but I looked at it couple days ago and didn’t like it. I wanted to add some details, maybe change a color palette as well.
I really like this new version, I think I’ll use pear wood for the background, something bright like maple or birch for decoration and makore wood for the outside border.
Meanwhile, the porcelain plaques are finished, at least I think they are for now 🙂 But I don’t have the photos yet, stay tuned.

Books on marquetry, my new workshop
There are two new videos on my Youtube channel. One is about my new workshop, the video was published a week ago, but I forgot to share the link here 🙂
The second video is about the books on marquetry that I have in my collection. Lots of books in English, Roubo books, for example. And several really good books in Russian, mostly exhibition catalogues.
It’s been a long time…
It’s been two years since my last post here. This year was full of events. Events that were so unbelievable, that I couldn’t get back to my workshop again. All my thoughts, concerns shifted to a real life, my family. Through all these years I was making posts in other social media platforms, it seemed at the time that it would be always like that. I’d go to the shows in April-May, then IGMA school, maybe another show in autumn, or even exam to pass. Anyway, most of my plans don’t matter anymore.
But I still make miniatures and intend to do so in the future.
I’d love to show some of my miniature projects that were finished quite some time ago, but weren’t shown here in my blog.
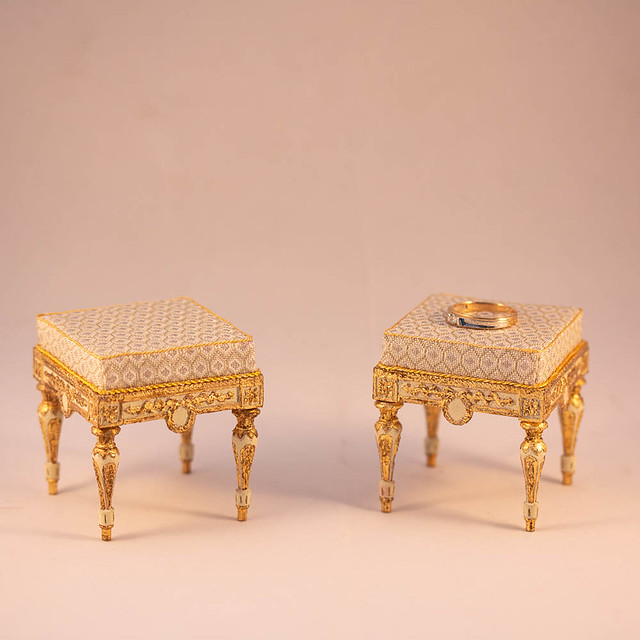
Let’s start with these two Italian footstools, you can find a process of making them in one of my videos on my Youtube channel.
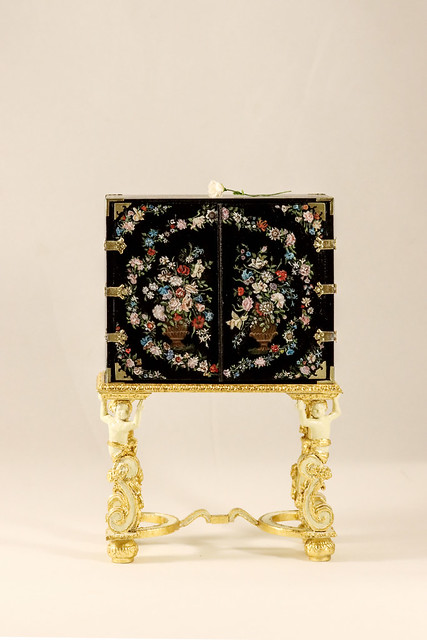
The first painted lacquer cabinet, that was made for PIMA awards at Kensington Dollshouse Festival, the second one was made later.
Another Italian project, and armchair, quite complex carving, lots of gold and oil painting.
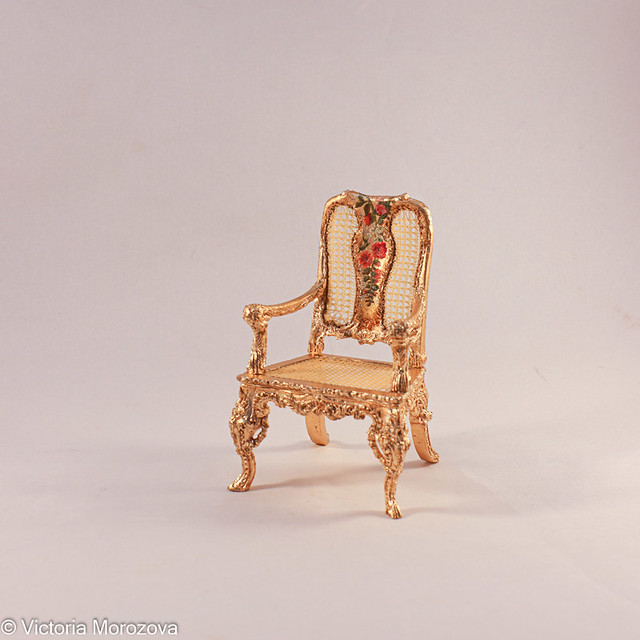
One of my favorite and one of the smallest projects:
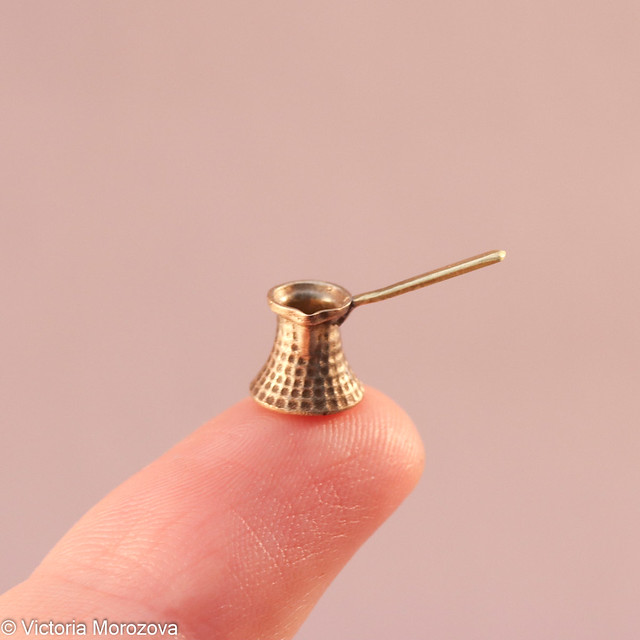
Another favorite, lots of details, that I thought I’d never be able to achieve.
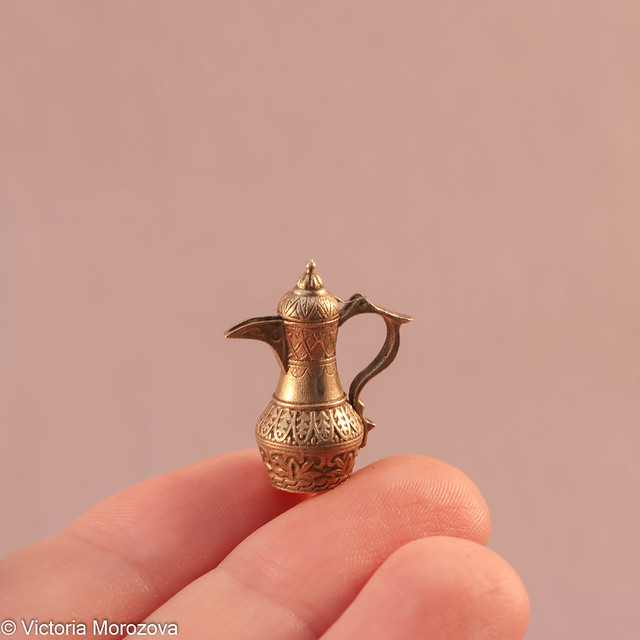
Another Italian piece, this time in scagliola technique. I’m really proud that I was able to make it in miniature.

A French side table, made for IGMA school auction.

There’s so much more to show. Till the next time!
IGMA Artisan.
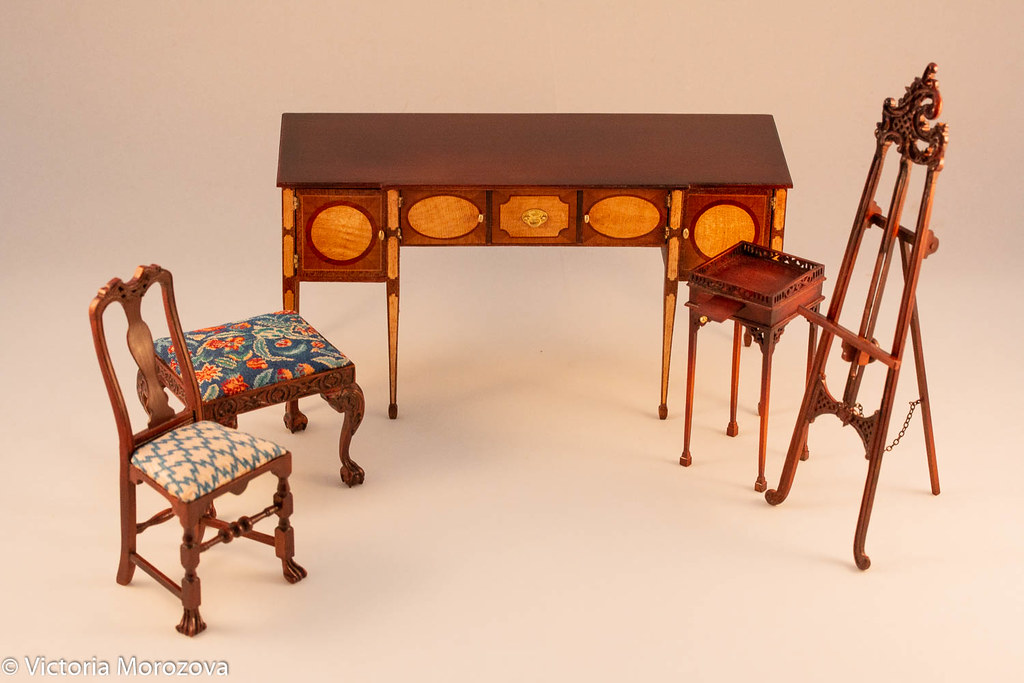
Получила! Для тех кто не совсем в курсе – есть такая международная организация, которая объединяет миниатюристов по всему миру, называется IGMA – International Guild of Miniature Artisans, в гильдию можно вступить любому (однако нужно платить ежегодный взнос), а можно еще получить статус Artisan (еще выше Fellow), который подтверждает высокое качество ваших работ. Статус дается тем, кто отправил свои работы на рассмотрение и получил положительное решение гильдии. Каковы преимущества у тех, кто получил статус артизана? Можно преподавать в гильдийской школе, участвовать в гильдийском шоу, которое проводится каждый год в сентябре, ну и приятный бонус для ваших клиентов. Правда, преподавать я пока не планирую, да и гильдийское шоу мне неудобно по времени, но это уже совсем другая история.
Выше пять предметов, которые я отправляла на экзамен. Отправка, нужно сказать, дело весьма хлопотное. Из сопроводительных документов нужно было предоставить анкету, которую можно скачать на сайте гильдии. Я также приложила небольшую книжечку о пяти предметах, которые я сделала с фото и описанием процесса работы.
Начну с самого любимого предмета, пуф, для которого я вышила по своему дизайну обивку (это шелковая канва 56 каунта и Глориана Тюдор шелк). Деревянная часть – айвори, новая для меня порода. Прекрасна для миниатюры, ужасно дорогая. Довольно сложно резать правда из-за того, что очень-очень светлая, нужно определенное освещение.

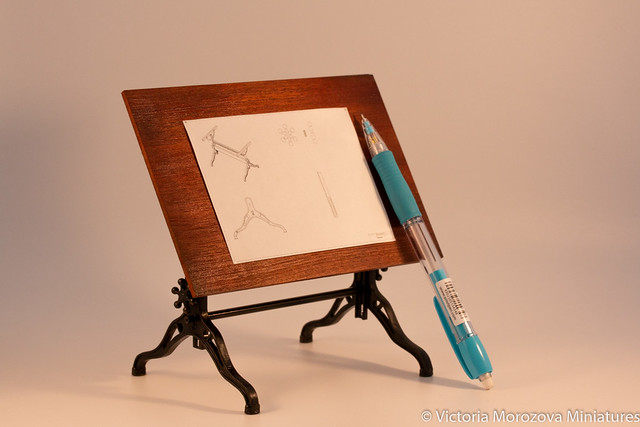
A drafting table.
As I wrote many times I hate working with metal, but this is the only thing that interests me now. Funny enough, I love brass casting, maybe because the only thing I have to do is model making.
Anyway, one day I notice those wonderful vintage drafting tables and architect’s tables and fall in love with them. It’s a very unconventional item, not many people want them in their dollhouses, but it was a chance for me to try metal construction. It became so easy for me planning a piece for woodworking purposes that I thought metal would be something similar for me. Oh boy, I was wrong, big time.
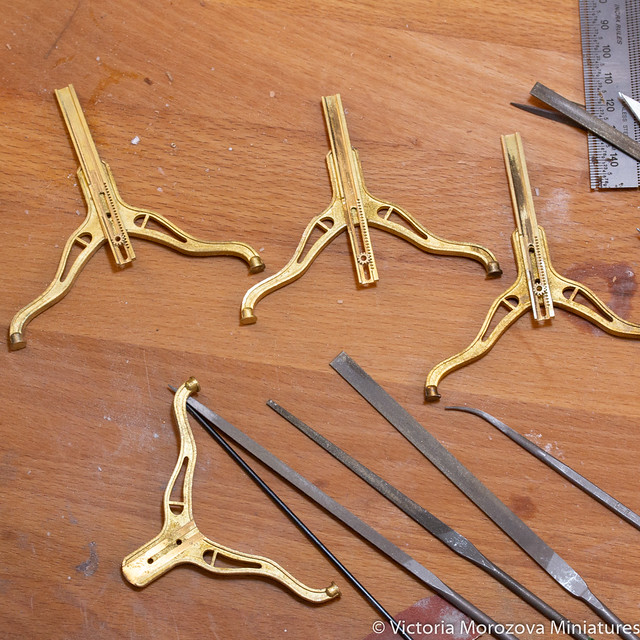
The table I made is simple, but there are couple of things that maybe not so easy to make – gears for height adjustment, table top angle adjustment. The parts are quite big, so you cannot just solder them together (and of course I thought I could when I was making a 3d model).
Here are casted pieces
Chippendale Firescreen
After pretty successful experience with higher count petit point, I decided that I can make another screen, but this time on 90 count silk gauze. I found this screen in a book dedicated to Thomas Chippendale 300th anniversary of birth. It’s pretty tall 169.5cm high, the screen itself is pretty large too.
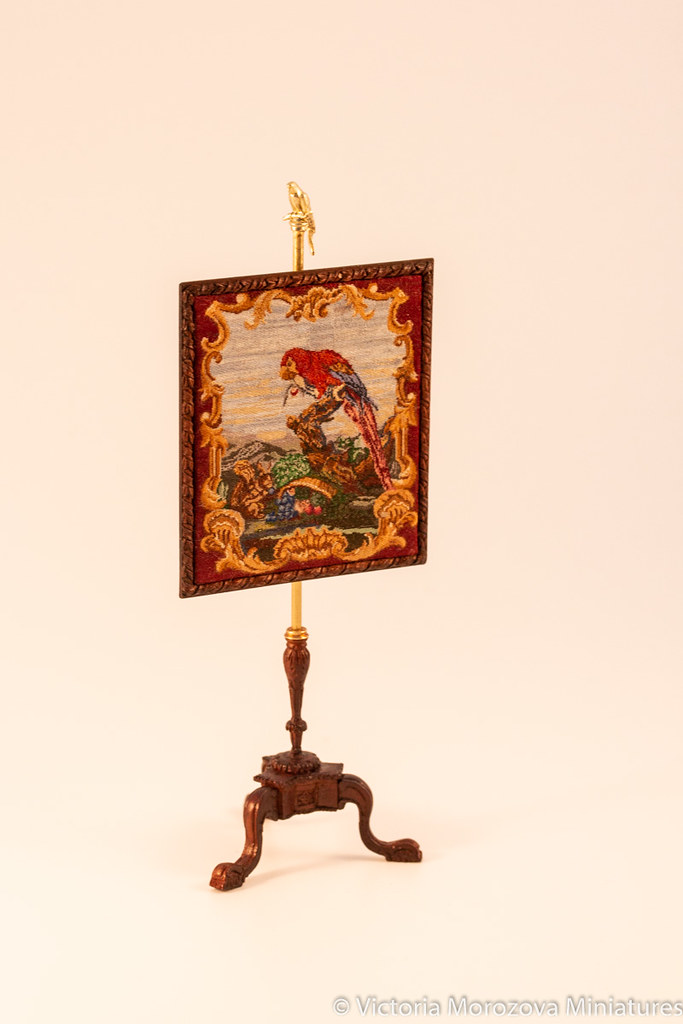
I should also say that the original screen is fully made of wood, in my version a pole and a finial are made of brass. The finial was traditional too, but I made a parrot 🙂
The screen is stitched on a 90 count silk gauze, with Chinese silk floss.


French Firescreen, the second version.
I don’t really understand how I missed that one on my blog, I took it to IGMA school last year and haven’t posted about it! This screen is a bit different, it has a higher count silk gauze (86) and different design, besides the frame has a different finish.
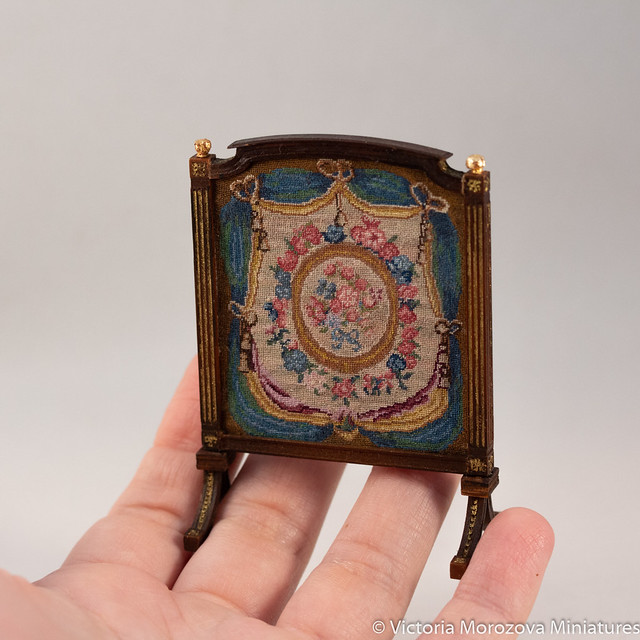
A bit of a process: