Французский игровой столик – закончен.
The project I needed to finish two years ago. A French Game Table, the first one went to the auction at IGMA school. I was going to make two of them actually, but I didn’t have enough time to finish it. Besides, I realized that I needed to improve the overall design of the brass mounts, my porcelain painting skills needed an upgrade as well. The inside mount is designed and stitched by me on a 72 count silk gauze. The insert of such a complex form made me cry several times while mounting it, I’m still not very happy about it, but here it is. Sometimes I felt overwhelmed with the whole thing to be honest. I’m happy it’s done. Time to turn the page and move on.


Books on marquetry, my new workshop
There are two new videos on my Youtube channel. One is about my new workshop, the video was published a week ago, but I forgot to share the link here 🙂
The second video is about the books on marquetry that I have in my collection. Lots of books in English, Roubo books, for example. And several really good books in Russian, mostly exhibition catalogues.
Adams Style Table.
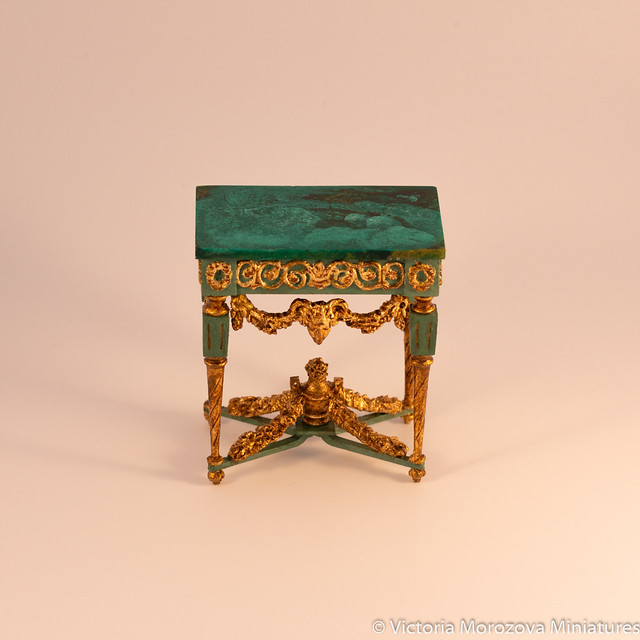
It’s done!

The carved elements were gilted, the rest of the table is painted with acrylic gouache. Later during Chicago show I was lucky to speak to Robert Dawson, who suggested that inner parts of the table, a vase and the flowers were made of bronze. So I decided to make a new version of this table. With the real marble table top and cast bronze parts. But it’ll be a different color. I think that both table and marble top will be beige.


Adams style table
I’m a fan of on of the books on European furniture, almost every piece there is on my to-do list. This table happened to be the first one I actually made.
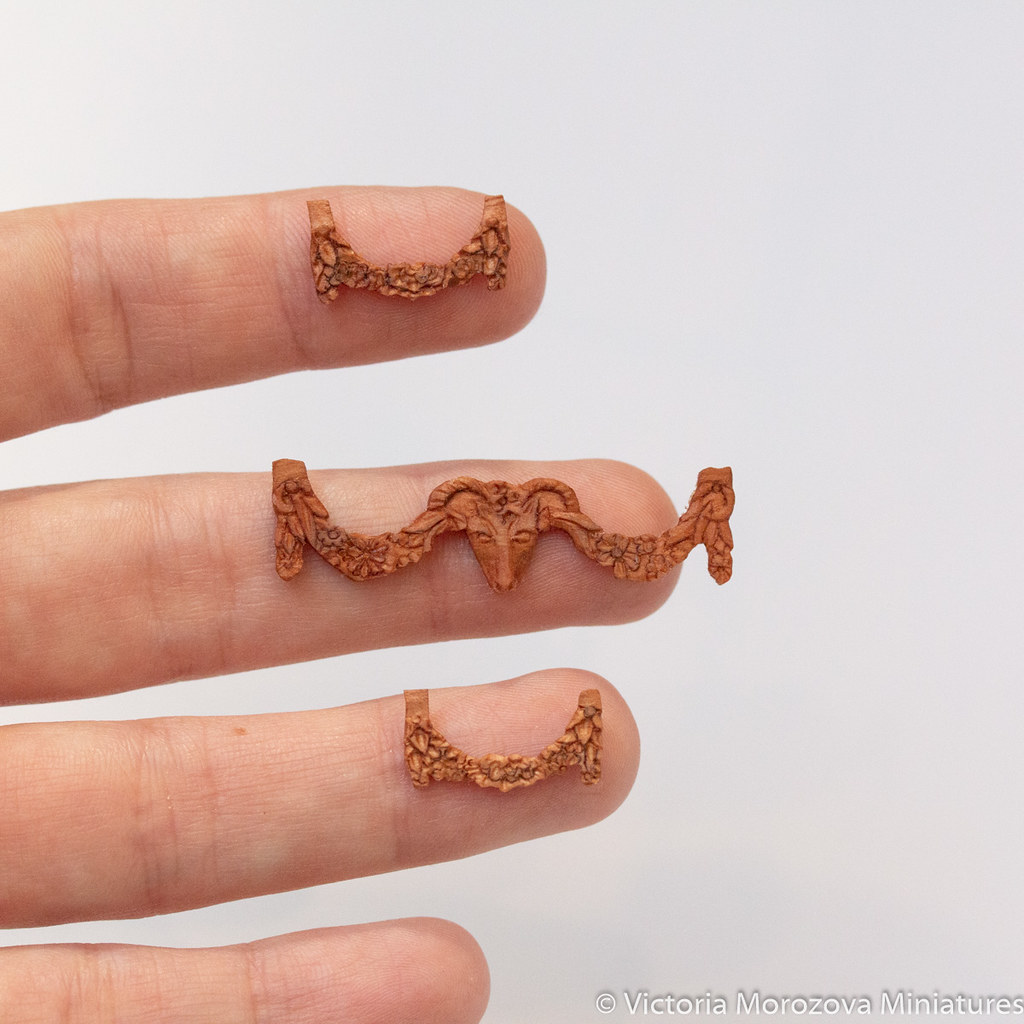
A bit of process below, I made several carved elements, all of them gone to my “virtual” trash bin. I wanted the carving to be more expressive.
French commodes. Part 2
I wrote about these commodes many months ago, I was hoping to be able to update my blog very often, but some commissions happened plus I was very busy for my Chicago show, so it’s my first time when I can finally get back to my blog.
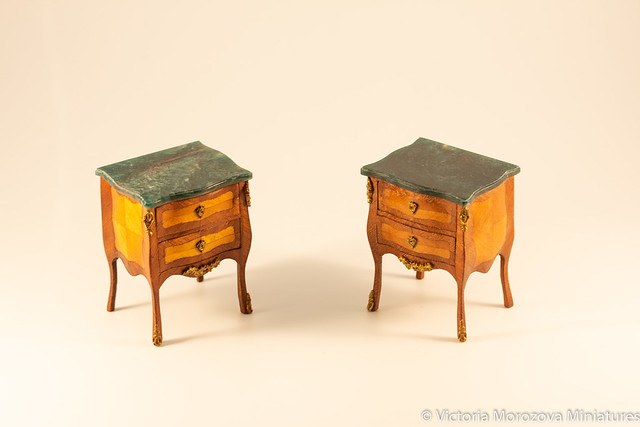
These two commodes are, of course, are done. They went to Tom Bishop Chicago International show, one of them came back to Moscow.
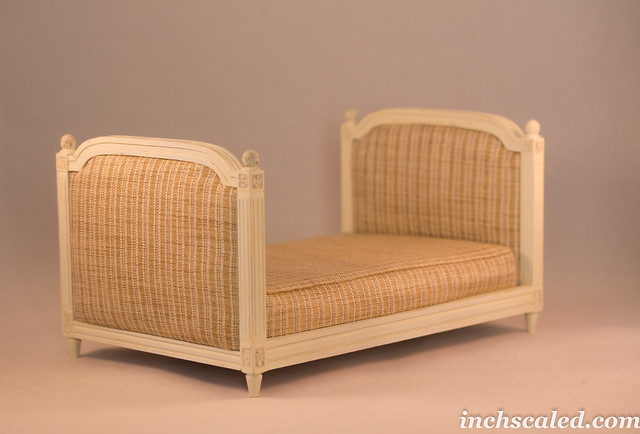
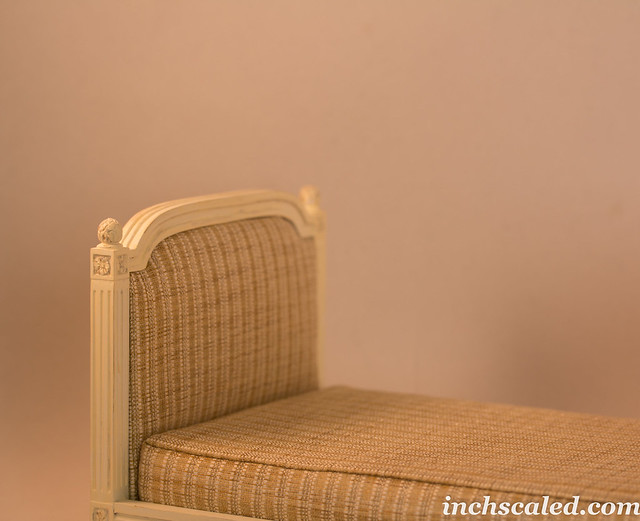
Кровать в густавианском стиле.
Как и обещала, про кровать.
Наверное, один из моих самых любимых предметов будет. Потому что все просто и понятно – резьба, сборка, покраска. 🙂
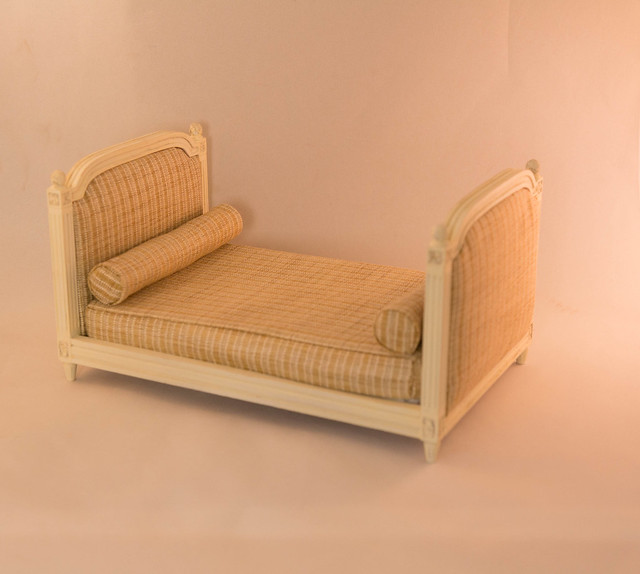
У кровати такой нежный цвет слоновой кости, это матовый акрил. Я все собираюсь сделать видео на эту тему. Про покраску.
Заказчица, как говорится, не вредная попалась. И обивку я легко сделала, и матрас легко сшился. С обивкой была отдельная история. Когда я получила ткань, мне отчего-то показалось, что ткани катастрофически мало. Что на матрас не хватит, вот вообще. Стали с заказчицей думать, в итоге я предложила сделать типа чехол такой, который можно снимать. И я решила сделать его двусторонним, можно вывернуть и будет простыня. В итоге хватило ткани аж на три подушки 🙂 Хотя нужно было две.
Ну и видео вдогонку с демонстрацией 🙂 На ФБ и в Инстаграм видео подлиннее.
Густавианские стулья
Ну вот и закончен вроде один заказ, пока покажу стулья. Остальное потом, если все будет хорошо.
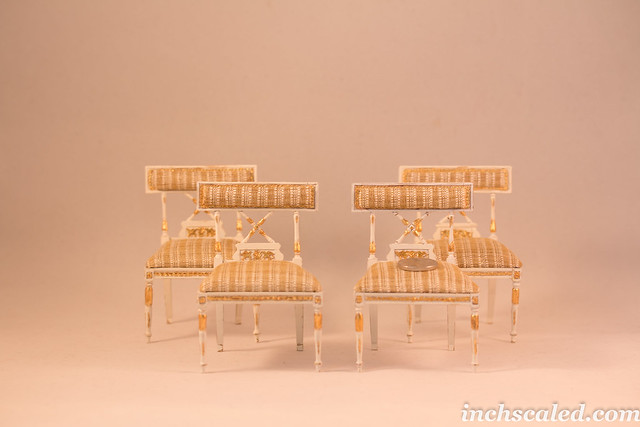

Такой вот долгострой не по моей вине. Напомню, что заказчица долго не высылала ткань, так что пришлось ждать. В итоге, материал мне понравился, хотя довольно сыпучий и ооочень тонкий. Боялась, что ткань придется проклеивать. Но именно со стульями не пришлось.
После обивки еще немного подпортила стулья патиной, которую по идее довольно легко можно убрать.
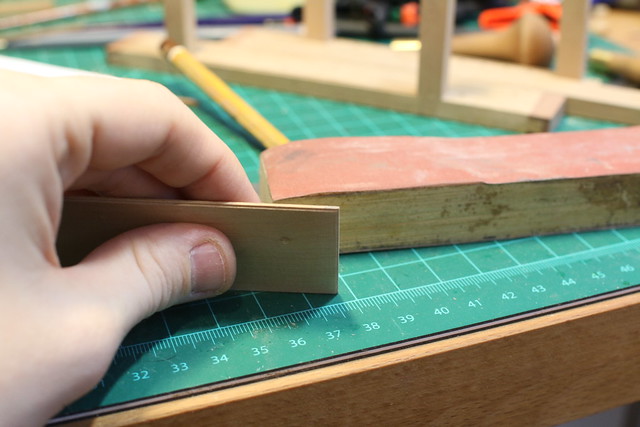
William and Mary dressing table – part 1.
I’ve been working on it since the beginning of the year, then I switched to making a workbench, and now I’m off the project for a week because of my daughter’s illness.
It was my first try using a lathe duplicator, and I’m quite pleased with the results.
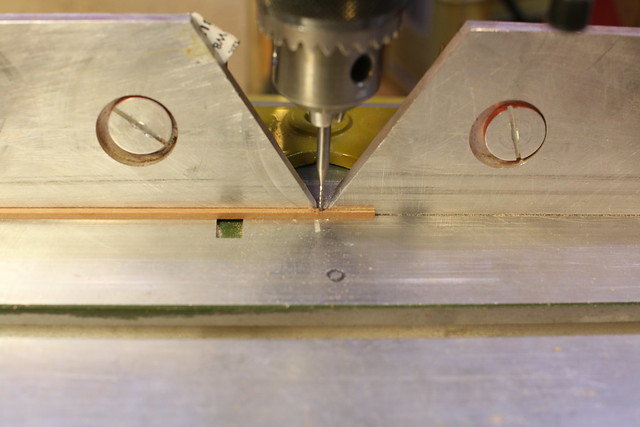
But let’s start from the beginning. I start with cutting the legs, the turned part is bigger in diameter than the upper part. So I remove the waste with my router.
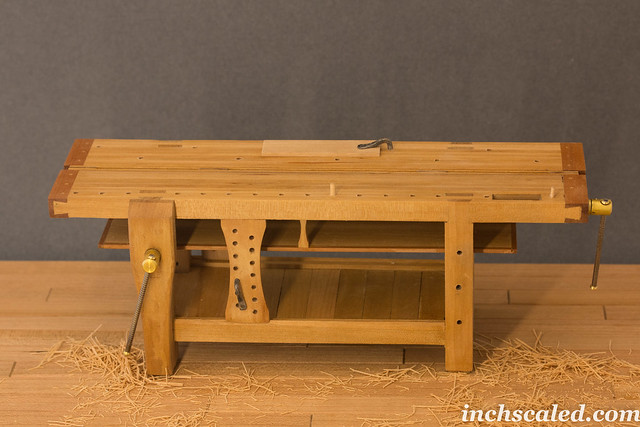
Roubo Workbench. Photos.
I’m in the process of making a video, but this time only photos. The workbench is covered with Danish Oil, nothing else.

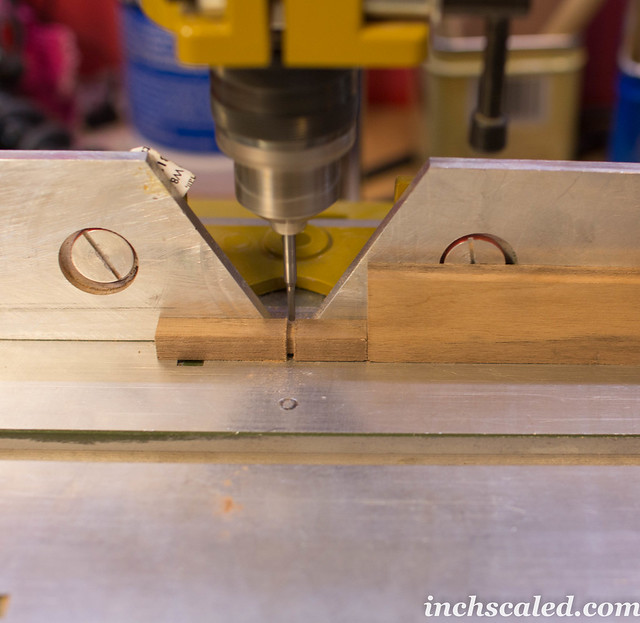
Roubo workbench, part 2.
In the first post I showed how I made the legs and the top. I’ll leave the vises for the assembly part. And now, I’m making shelves, there are two of them. The upper one is quite thing, made of a single sheet. I’m making a frame for it out of steamed pear wood, just for fun.
At first, shelf itself.
Then the frame. On the photo you can see how I’m making a mortise.