Learning Metal Engraving: Week 2, even 3.
Time is flying by. I’m still working on the panels for the screen, but I’ll write about that separately. I’ve been engraving much more often, though. My original plan was two sessions a week, but that has now become at least four. So I’m spending around an hour a day engraving, apart from weekends. Here’s a small selection of what I’ve managed to do.


The leaf designs are from Sam Alfano’s course. I bought his videos a while ago, and they came with several PDFs. The circles are from there too. I bought some more brass and cut it into 50 × 50 mm plates. And they’re awkward to work with! The plates we used in class were 30 mm across, and I made 40 mm ones at home, but 50 mm feels so far removed from miniature work that I’m completely out of my comfort zone. I can’t explain why. Anyway, I ended up cutting some of the plates in half, giving me 25 mm-wide pieces, which turned out to be just right for me.
The pattern on the plate with the vertical lines and notches is one I stole from class. The trick is to make those notches very neatly, hitting the exact center of the groove without touching the opposite wall. I wrestled with this for several days and, by the end of the second week, I think I’d found a little bit of zen. By the third week, I was getting it right much more often. Plain straight lines are still torture for me, but I’ve made my peace with that. Sometimes I think the problem is the pedal rather than me: the speed occasionally jumps quite abruptly, and I’ve been struggling with that for months now. I still don’t know how to solve it, so I’m training my foot to handle those transitions more sensitively.
My circles are getting a little better. For now, I’m aiming for 50 hours of practice in total before drawing any conclusions. I dread the thought that any of this might be a waste of time. Surely it will help with my woodcarving too… it will, won’t it?
A useful addition to my practice: I’ve started a separate notebook just for engraving. Previously, I only had a sketchbook and a general work notebook. I realized I needed to bring everything together in one place. Putting it together will give me some extra practice and a chance to revisit the theory.
I’m also trying to draw more often again. I’ll have to show you some sketches at some point, just to prove I’m not making it all up. For now, I’m drawing a bit of everything: exercises, sketches from life, ornamental designs, and furniture. I’m muddling along to keep moving and keep my spirits up.
Let’s see what next week brings. I want to make some new practice plates. I’ve already worked through the ones I have several times, and I’m ready for something new.
Caned Armchairs

I’ve finally finished this set — two armchairs and a sofa, and my heart is so full.  I first created these pieces several years ago for my very first show in the US, and now I’ve brought them back to life with a slightly new design. It feels so special to revisit them.
Let me start with the armchairs. They’re just as graceful as before, with caned seats woven from the most delicate silk — and sadly, this silk is no longer in production, which makes them even more precious to me.
This time, I painted the furniture with acrylic. For the original set, I used oil. A small shift, but it changed the whole feeling of the pieces.
I’m truly so happy with how they turned out. Next time, I’ll share the sofa — can’t wait for you to see it. 
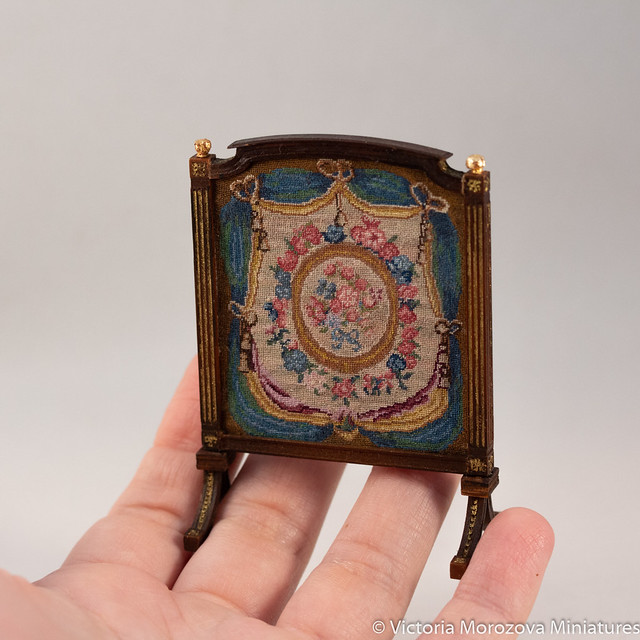
French Firescreen, the second version.
I don’t really understand how I missed that one on my blog, I took it to IGMA school last year and haven’t posted about it! This screen is a bit different, it has a higher count silk gauze (86) and different design, besides the frame has a different finish.
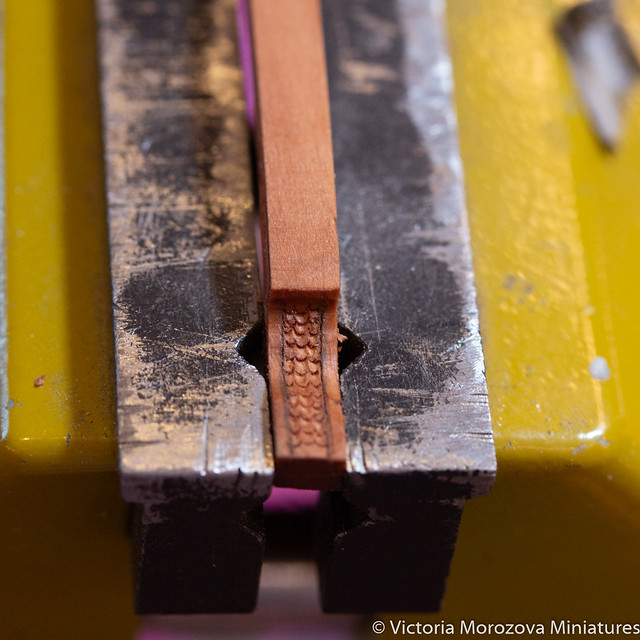
A bit of a process:
Adams Style Table.
It’s done!

The carved elements were gilted, the rest of the table is painted with acrylic gouache. Later during Chicago show I was lucky to speak to Robert Dawson, who suggested that inner parts of the table, a vase and the flowers were made of bronze. So I decided to make a new version of this table. With the real marble table top and cast bronze parts. But it’ll be a different color. I think that both table and marble top will be beige.

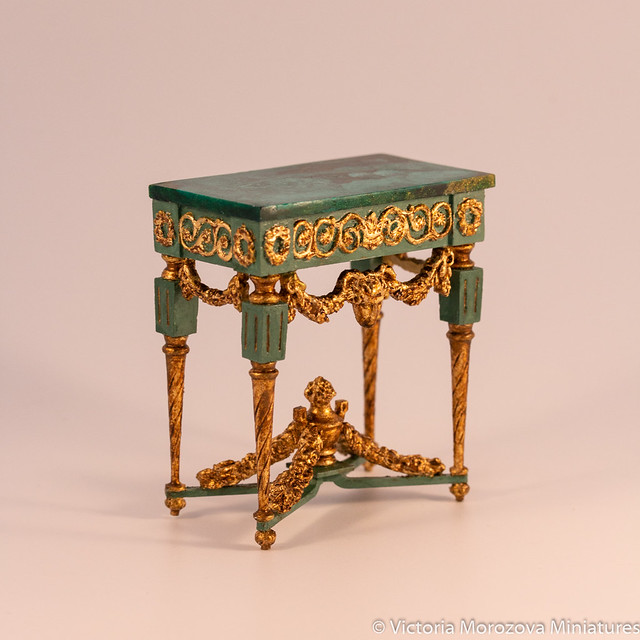
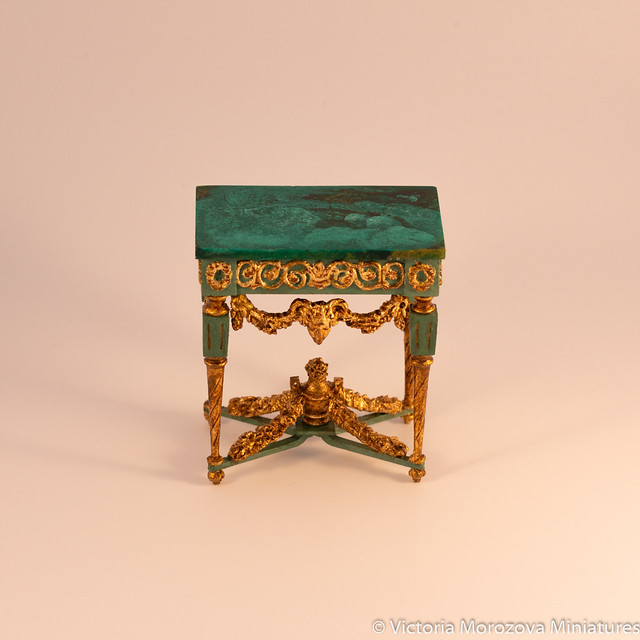
Adams style table
I’m a fan of on of the books on European furniture, almost every piece there is on my to-do list. This table happened to be the first one I actually made.
A bit of process below, I made several carved elements, all of them gone to my “virtual” trash bin. I wanted the carving to be more expressive.
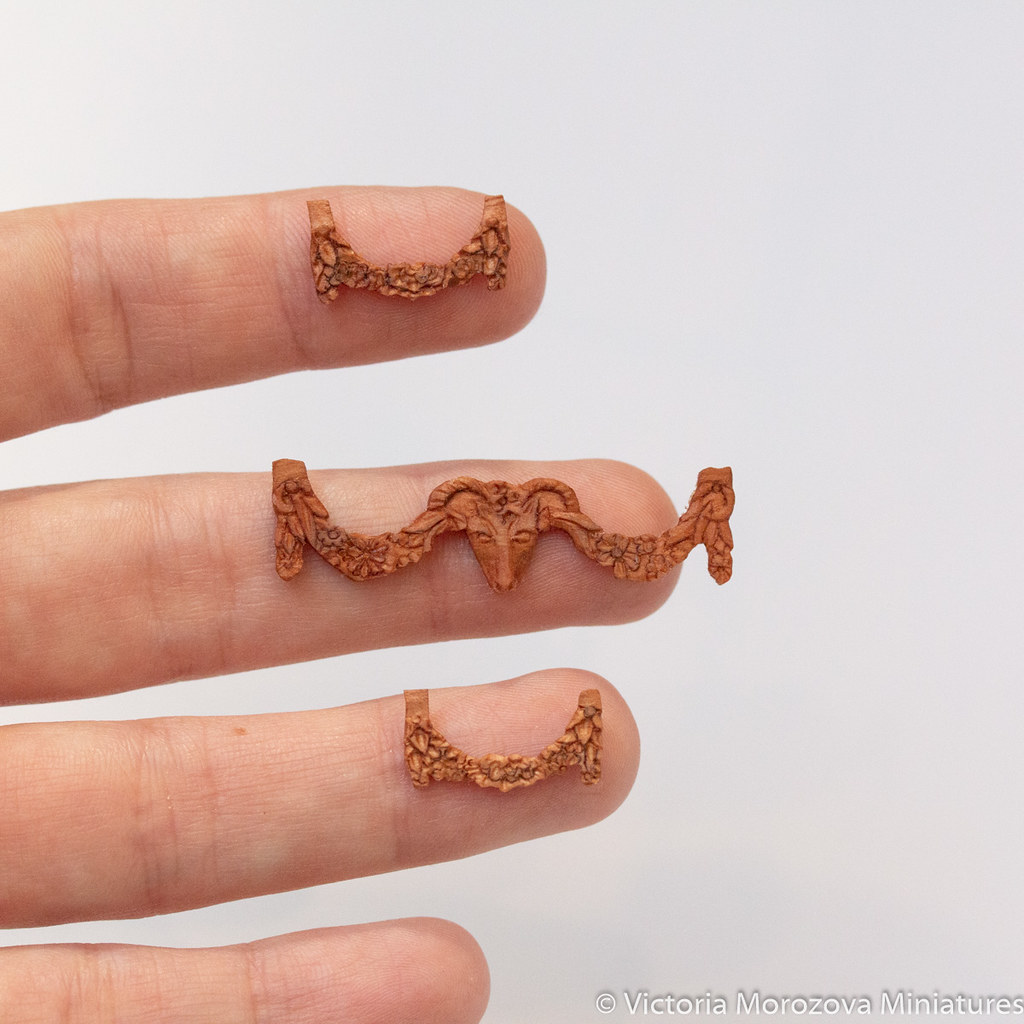
French commodes. Part 2
I wrote about these commodes many months ago, I was hoping to be able to update my blog very often, but some commissions happened plus I was very busy for my Chicago show, so it’s my first time when I can finally get back to my blog.
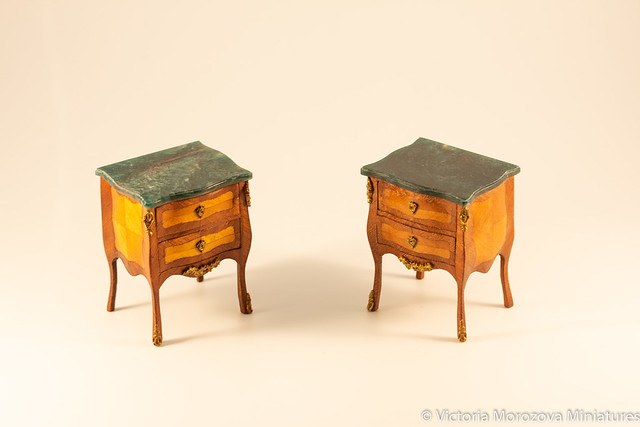
These two commodes are, of course, are done. They went to Tom Bishop Chicago International show, one of them came back to Moscow.
Louis XV small commode – WIP
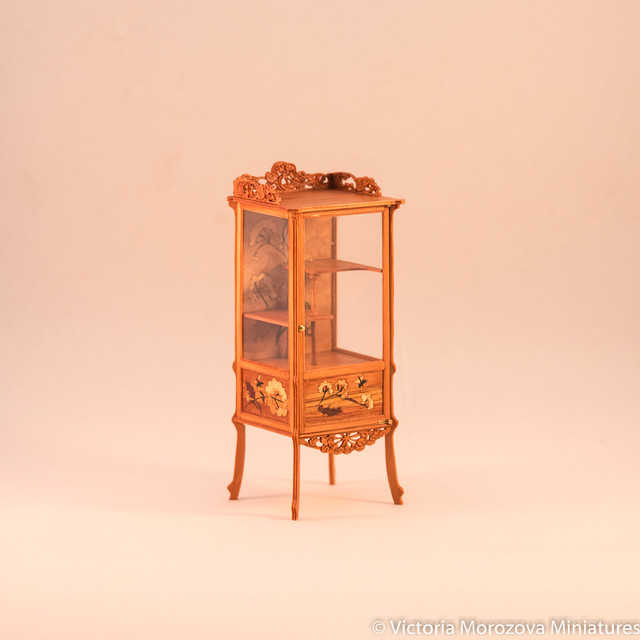
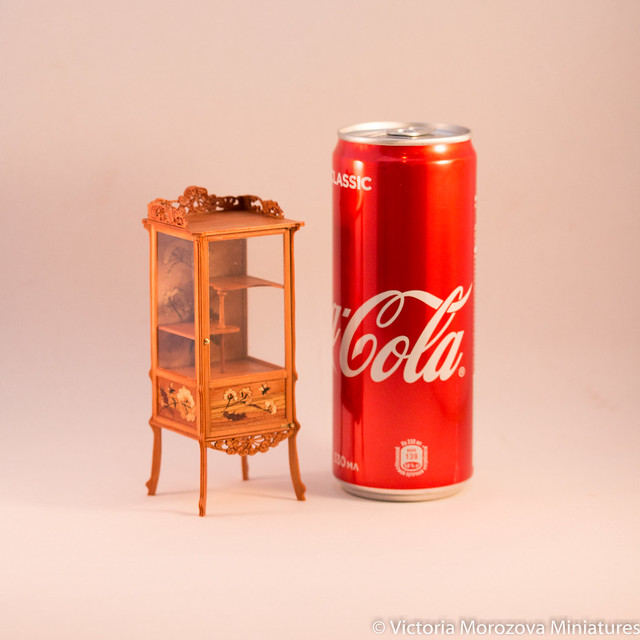
Recently I started working on a commode I wanted to make for quite some time. I’m getting to the phase of my dream projects! First, Studley workbench, then Galle vitrine, and now this commode. I’m happy to be able to make things I wanted to make eight years ago when I started building miniature furniture. It’s a huge step for me, so I’m very excited.
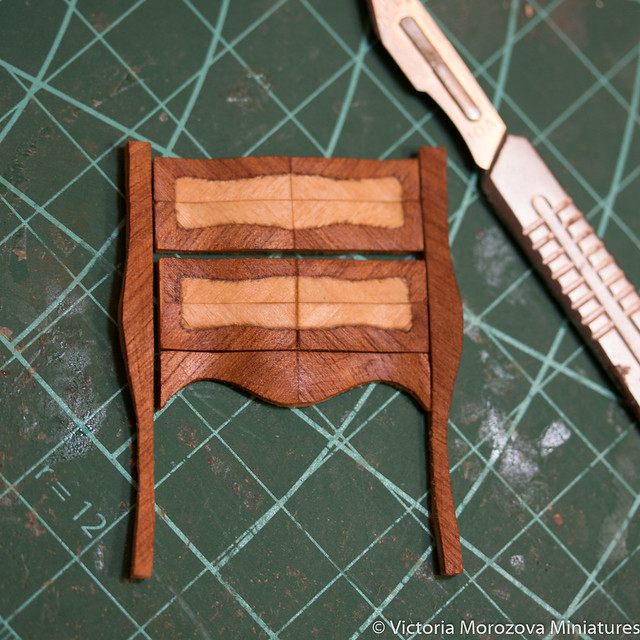
I’ll be making two commodes. The first one is partially ready for assembling and making drawers.
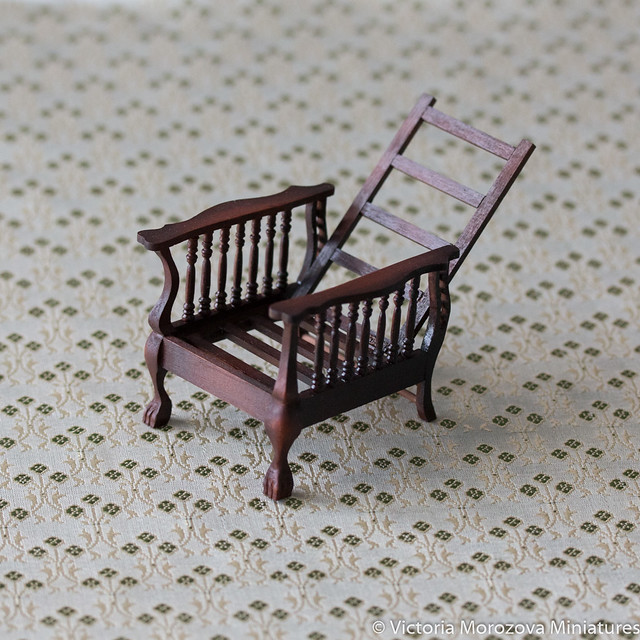
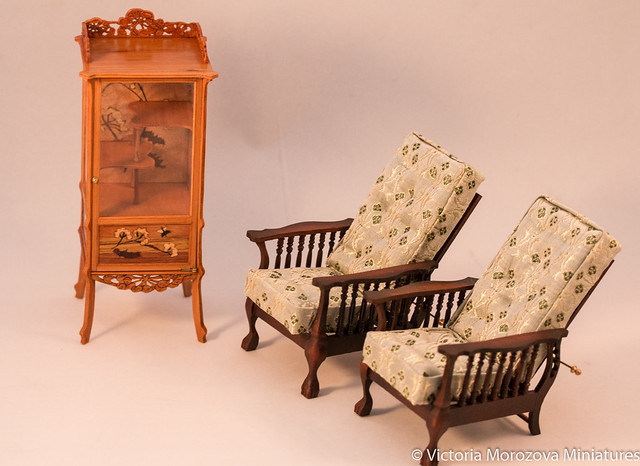
Morris Chairs Upholstery
I made these chairs quite some time ago, but I managed to make upholstery only now. I was searching for the right piece of fabric at the local stores, but found what I needed in this wonderful UK based store – https://www.mariasfabrics.com/ I was blown away by the amount of gorgeous fabrics, so I bought a lot!