

Miniature Embroidery in 1:12 Scale: Why It Takes So Long
Let’s talk about miniature embroidery.

I recorded a dedicated video on this subject about three years ago. If you watch it, you’ll also see the embroidered upholstery panels for the armchairs I showed yesterday (around 2:13). I briefly explain my choice of threads and needles there, so I won’t repeat all of that here.
Instead, I’d like to add a few things I’ve learned since then.
The first—and perhaps most important—is this:
Embroidery in 1:12 scale is slow. Very slow.
Choosing the Fabric
Let’s start with the foundation.
We don’t use the standard embroidery canvas you’ll find in most craft stores. Instead, we use silk gauze—sometimes sold as silk organza because it is transparent and fairly stiff.
However, ordinary silk organza from a fabric shop usually isn’t suitable for counted embroidery. What we need is an even weave, where every thread is perfectly spaced to create a regular grid.
People often ask whether another evenly woven fabric could work instead.
Personally, I think the answer is yes—but with one important condition.
Try to find something softer and more flexible than traditional silk gauze.
The stiffness of silk gauze is actually an advantage for flat pieces such as fire screens or decorative panels. Upholstered furniture is another story. When covering miniature chairs or sofas, a rigid foundation easily develops unwanted folds and creases. Even silk gauze can be difficult to shape, so choosing the right fabric is worth the effort.
What Count Do Miniaturists Use?
Most miniature embroiderers try not to go below 40-count silk gauze (40 holes per inch). For miniature carpets, for example, 40-count is fairly standard and offers a good balance between detail and the time required to complete a project.
There is also the Miniature Needlework Society in the UK, which brings together enthusiasts of miniature embroidery, knitting, and bobbin lace. I’m not a member myself, but I’ve heard from fellow miniaturists that they generally recognize work stitched on 72-count silk gauze or finer. I can’t personally verify that, though!
That said, I have to admit that embroidery on 72-count—or even 90-count—looks absolutely incredible.
The frustrating part is that photographs don’t really capture the difference. At miniature shows and exhibitions I always found myself staring at embroidered pieces because they’re simply breathtaking in person. In many cases it doesn’t even look like embroidery anymore. It looks like a woven textile made specifically for the furniture.
I’ve seen some outstanding painted upholstery in miniature, and when it’s done in scale it can be wonderfully convincing. But exceptional embroidery has a unique richness that is difficult to imitate. It’s also one of the reasons why furniture upholstered with miniature embroidery is usually far more expensive than painted upholstery.
That doesn’t mean painted upholstery is somehow inferior. Not at all. If it’s executed with the right level of detail and looks convincing in scale, it’s an excellent solution.
Designing the Pattern
In the video I mentioned that I create my embroidery charts digitally.
The programs I use are PC Stitch and WinStitch.
Of the two, WinStitch isn’t my favorite. Large charts can become painfully slow, especially when using operations such as mirroring or cropping.
Today I would add another essential stage to the process: sketching.
I used to make detailed sketches only for marquetry or painted decoration, but once you start working on 60-count silk gauze or finer, preliminary sketches and color studies save an enormous amount of time.
As I mentioned in the video, I always stitch a small test section before committing to the final embroidery. It’s the only reliable way to evaluate color combinations. I wouldn’t skip that step.
And, of course, having a large selection of threads helps enormously.
That’s one of the reasons I still love Chinese silk. It comes in an astonishing range of colors, and when I bought most of mine, it was surprisingly affordable.
Magnification
People often ask what magnification I use.
Most of the time I work with binocular magnifiers.
Recently, however, I discovered something rather amusing.
When stitching on 72-count silk gauze, I don’t actually need magnification at all. I’m quite nearsighted, so before I start stitching, I simply take my contact lenses out.
It works surprisingly well.
I haven’t tried the same trick on 90-count yet—mostly because I need to finish my current project first.
Why It Takes So Long
At the beginning of this article I said that miniature embroidery is slow.
I wasn’t exaggerating.
A single small flower stitched on 72-count silk gauze takes me at least 30 minutes. That’s only about 100 stitches.
Those stitches may involve four or five different shades, which means constantly changing threads, separating individual silk strands, preparing them, and occasionally adjusting the colors as the work progresses.
Interestingly, higher counts make color transitions more subtle, so achieving enough contrast often requires changing the original plan.
Background areas are much faster than floral motifs—but they’re still time-consuming.
Now imagine an embroidery measuring 190 × 190 stitches, and you’ll have a pretty good idea of why these projects take so many hours.
Why I Prefer Fine Counts
So why do I choose such fine silk gauze?
Simply because I love the result.
Higher counts allow for significantly more detail, more sophisticated chart design, and a much more convincing textile effect.
After years of working this way, I’ve also developed a good intuition for matching thread thickness to the fabric, which makes the entire process much more enjoyable.
It’s certainly not the fastest way to embroider miniature upholstery—but for me, the finished result is worth every stitch.
Chippendale Firescreen
After pretty successful experience with higher count petit point, I decided that I can make another screen, but this time on 90 count silk gauze. I found this screen in a book dedicated to Thomas Chippendale 300th anniversary of birth. It’s pretty tall 169.5cm high, the screen itself is pretty large too.
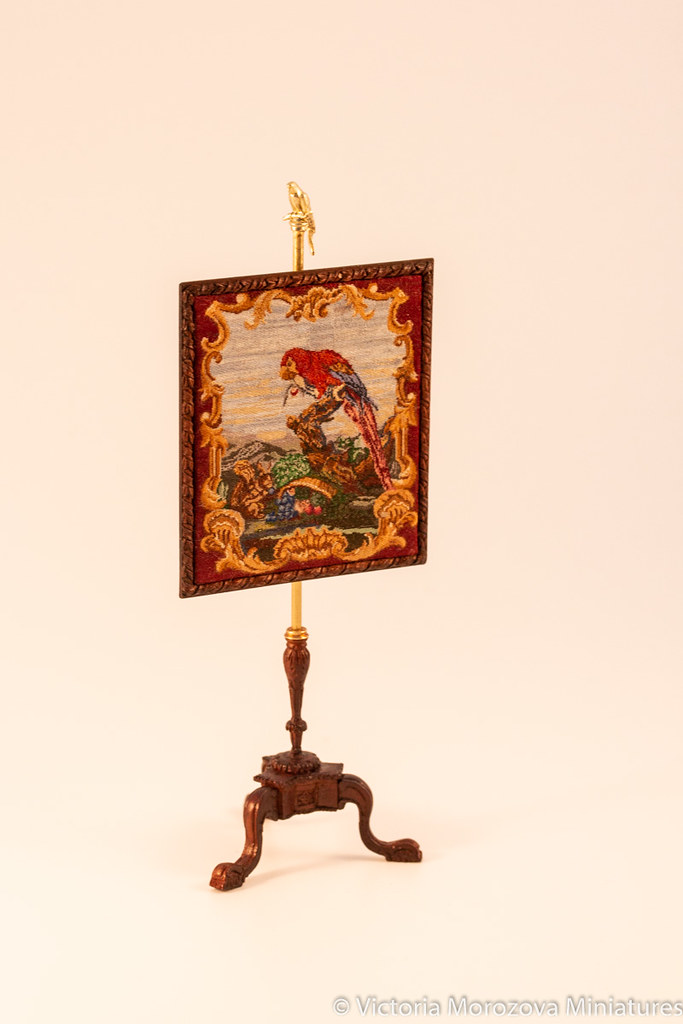
I should also say that the original screen is fully made of wood, in my version a pole and a finial are made of brass. The finial was traditional too, but I made a parrot 🙂
The screen is stitched on a 90 count silk gauze, with Chinese silk floss.


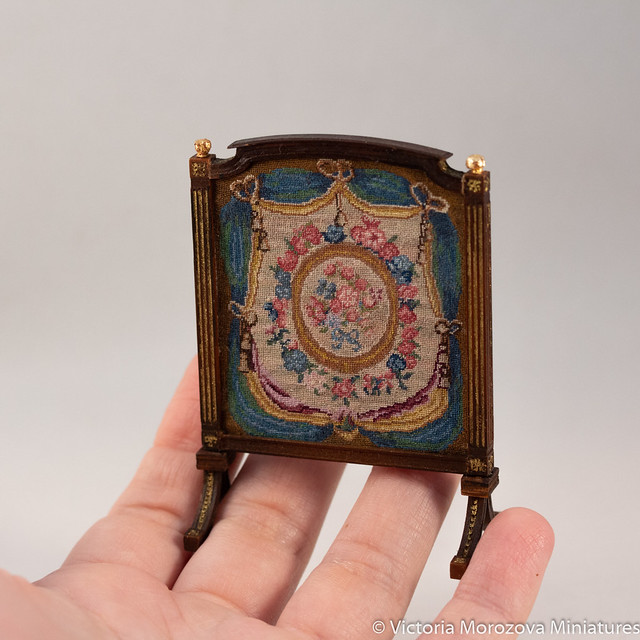
French Firescreen, the second version.
I don’t really understand how I missed that one on my blog, I took it to IGMA school last year and haven’t posted about it! This screen is a bit different, it has a higher count silk gauze (86) and different design, besides the frame has a different finish.
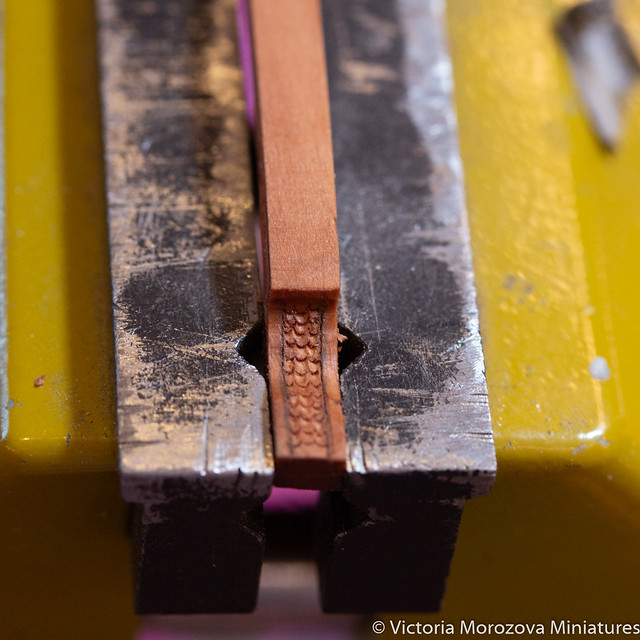
A bit of a process:
Petit point rug – WIP
A small progress on a petit point rug designed by Nicola Mascall. One page is almost done (and I have 15 more!)
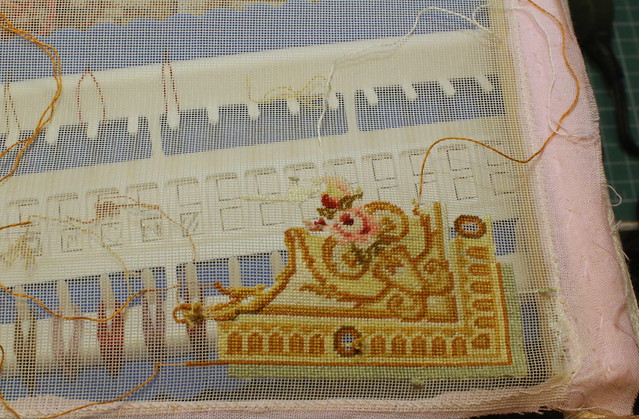
So far I made just one mistake and managed to fix it, the back is okay too 🙂
Carving and needlepoint
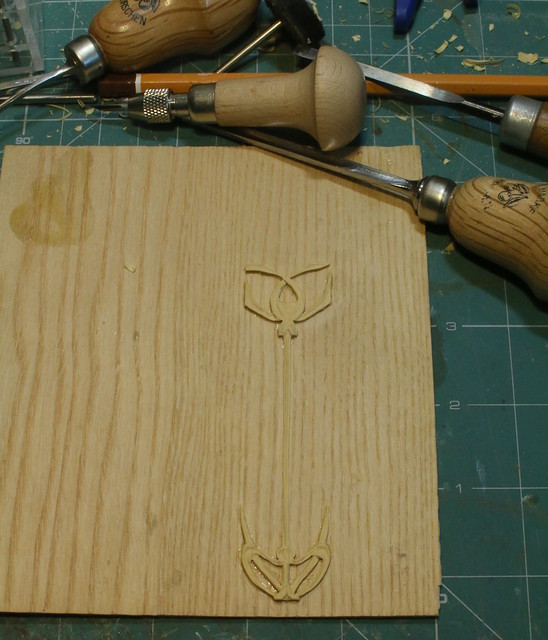
I finished marquetry panels and started carving central door ornaments. Last time I made my own pear plywood – and what was I thinking? Especially with boxwood veneer I had. This time I decided to use boxwood. And I love it! It’s such a great wood, no excuses . I hope to finish carving tomorrow and then I’ll stain it and glue to the door. I’m quite happy with the details I’ve got now, hope that result will be even better.
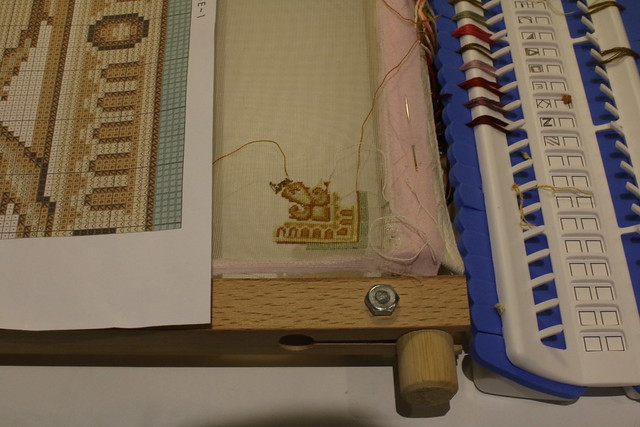
As for something different – I got this beautiful pattern from Nicola Mascall , when I saw it on Facebook I fell in love with this carpet, the colors are magnificent! I promised to myself earlier that I’d never do needlework again, I wanted to work on my bobbin lace mats, but with my baby girl it is quite difficult, she love the bobbins too much. I guess I’ll wait till she grows up a bit. Besides, this beautiful carpet, OMG! I couldn’t help myself! This is my first time stitching with Madeira, quite happy about the result and the back is not bad either! 🙂
Petit point for pillow
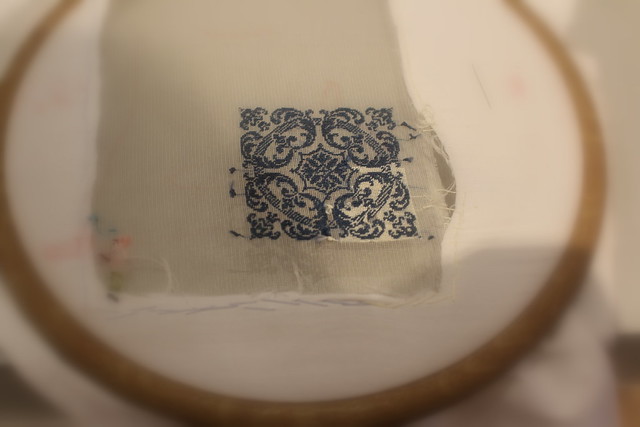
My current petit point project – miniature pillow. This time it is 49 count silk gauze. I was going to use it for a bed, but I changed the colors so I’ll have to use it for something else.
Начало
Начинаю несколько новых вещей в приподнятном настроении, ведь получила просто нереальное количество комментариев по поводу дивана в Yahoo группах. Пришлось рассказать и про резьбу, и про вышивку, и про маркетри, который всем очень понравился. Это особенно приятно, когда знаешь, что там уже видели многое, и удивить тех, кто занимается миниатюрой много лет, достаточно сложно. В общем, я безумно рада.
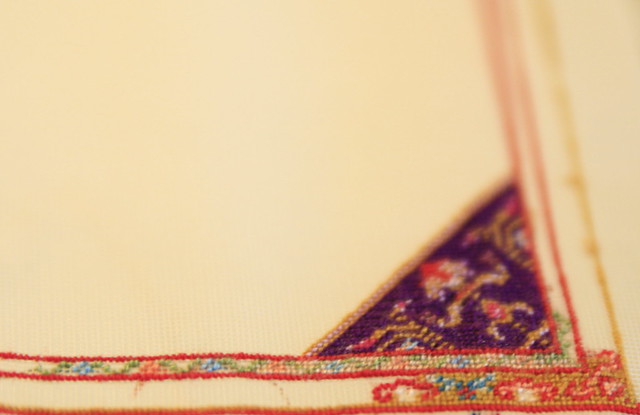
Хоть и не особо люблю текстиль, а вот вышивка иногда очень затягивает. В этот раз я решилась на ковер, использую шелковую канву номер 40. И уже второй раз пробую делать свой дизайн, будет адаптация одного антикварного ковра, который назывался sarouk, только я похоже мало что от него оставила 🙂 Какие-то мотивы точно есть, остальное сплошная отсебятина. Наверное, мне не помешало бы почитать какую-нибудь литературу по истории ковроткачества. Специально для этого ковра заказывала китайский шелк, но цвета как-то мне совершенно не понравились, в итоге вооружилась обычным DMC. Расход очень маленький, так как вышиваю в одну нитку. Думаю, на месяца 2-3 мне хватит работы 🙂
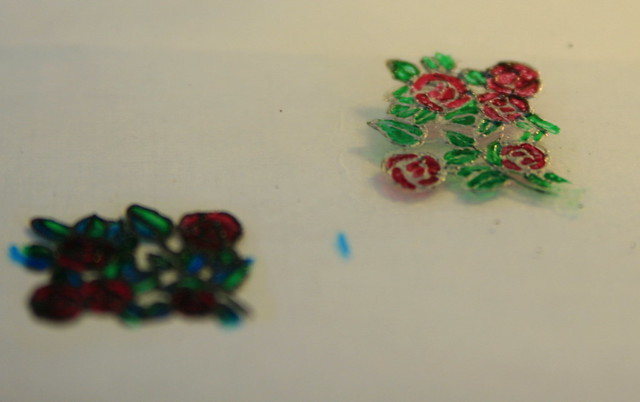
Про шкафчики для дивана я тоже не забываю, вчера рисовала эскиз, а это имитация витража на пластике. Долго выбирала между черным и серебряным контуром, остановилась на последнем. А еще будет снова резьба.
Диван, часть последняя.
Вот.
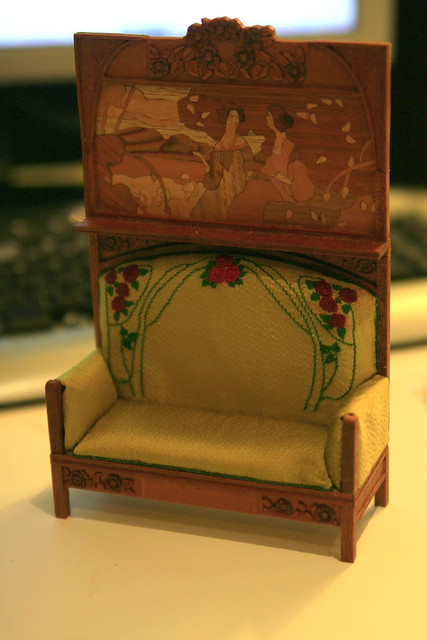
Не буду рассказывать сколько я мучалась с обивкой, успела сделать ее наверное уже раз пять, и снова все было не то. Работать с шелком в миниатюре еще то мучение, конечно. Но коллективный разум не оставил меня в беде, научилась все-таки делать так, чтобы не было лишних складок, чтобы все было аккуратно. Цвет обивки немного другой, это скорее цвет оливок. Ну и на фотографии он выглядит не так хорошо 🙂 Мне очень здесь нравится вышивка, опять же цвета чуток другие, на фотографии все чуть ярче.
Хочется для такого диванчика красивую комнату.
Читать дальше…
Каркас – продолжение.
Верхняя панель отшлифована и покрыта датским маслом, правда допустила сразу ошибку, надо было развести масло уайт-спиритом, слой будет тоньше и не так будет все блестеть. Так что жду пока сутки, чтобы все высохло окончательно, слегка подшлифую и уже нанесу разбавленным маслом. А пока чуть-чуть поменяла каркас дивана. Добавила планки между ножками, я как-то в самом начале забыла про них, вроде по-русски они фартуками зовутся.
Дальше будет много фотографий.
Вышивка
Вот для этого дивана:
Я переделала для него всю резьбу и панельку маркетри, обивку тоже уже переделала. В оригинальном эскизе там предусматривалась вышивка/рисунок, подумалось, что надо бы все-таки сделать ее 🙂
Вот что получилось: