Roubo workbench, part 2.
Or read this in Russian
In the first post I showed how I made the legs and the top. I’ll leave the vises for the assembly part. And now, I’m making shelves, there are two of them. The upper one is quite thing, made of a single sheet. I’m making a frame for it out of steamed pear wood, just for fun.
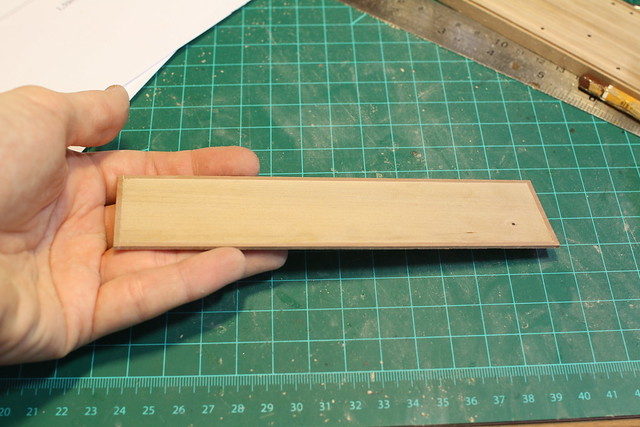
At first, shelf itself.
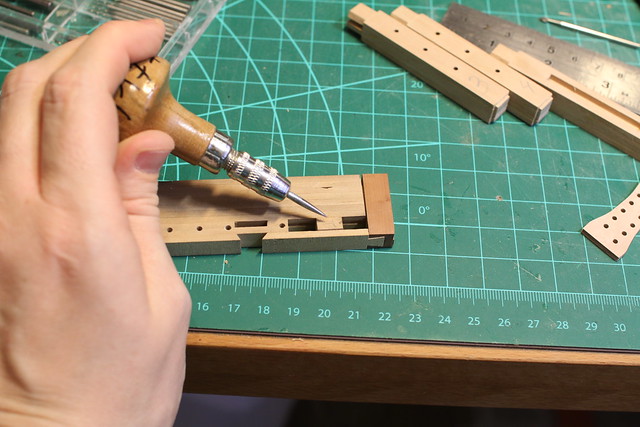
Then the frame. On the photo you can see how I’m making a mortise.
Checking, fitting.
Assembling.
Now we need to make sliding deadman.
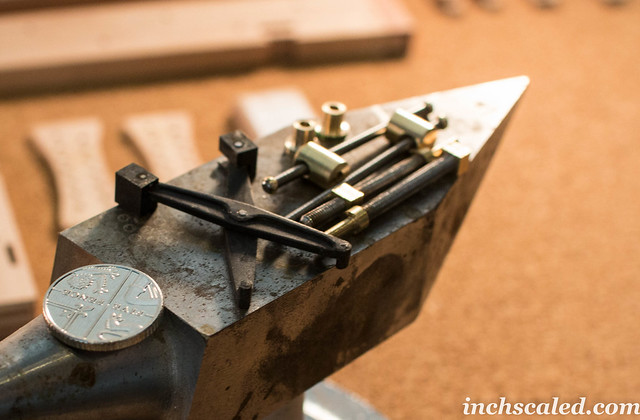
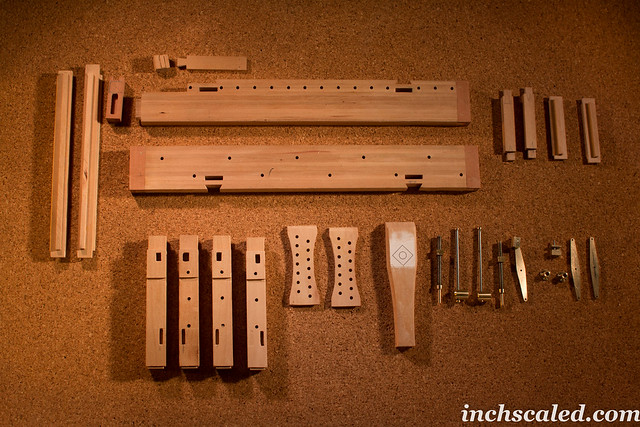
By the way, here are the parts of the tail vise. Metallic details are still WIP. I don’t glue anything just yet.
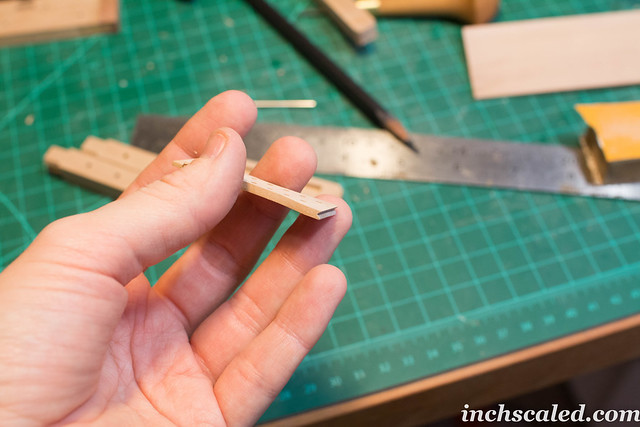
Side bars.
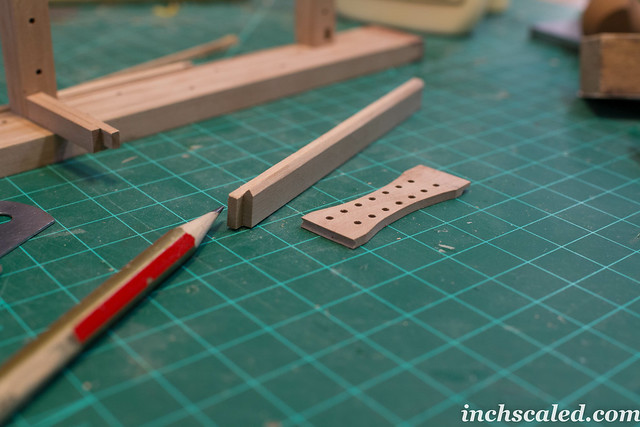
And a deadman, I’ll be making two.
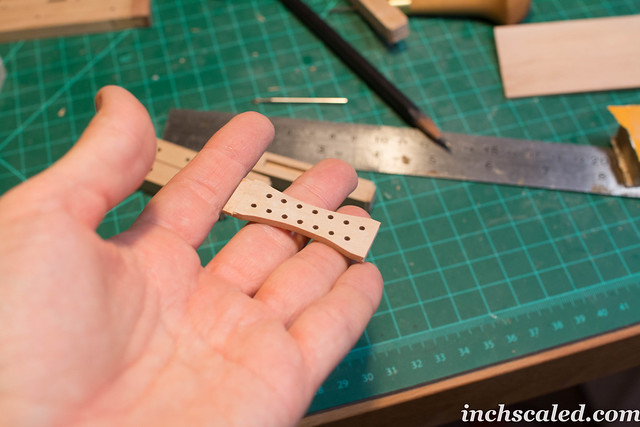
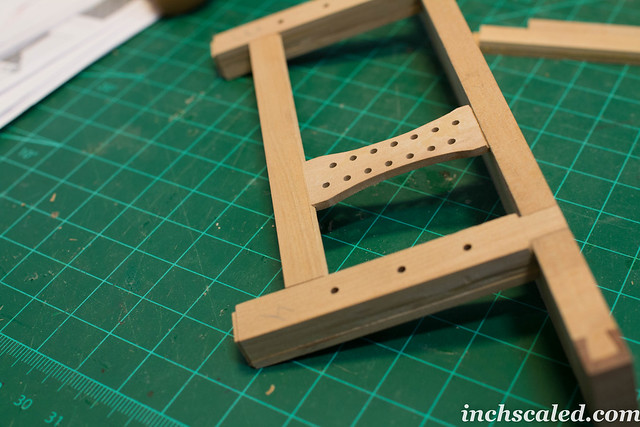
He has a slot, cute shape, huh? It’s moving nicely. You can istall the clamps into the holes, cool, right?
And another part:
All looks good.
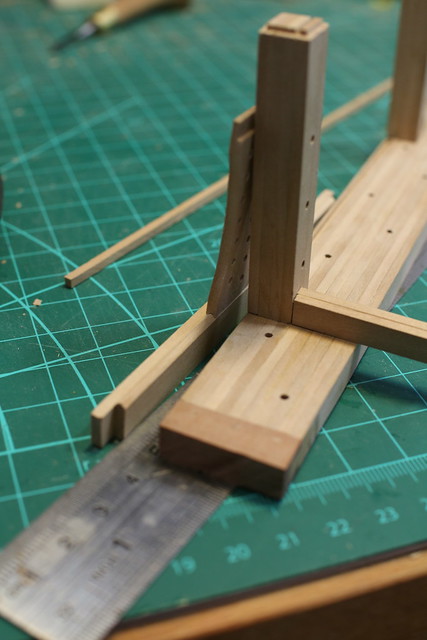
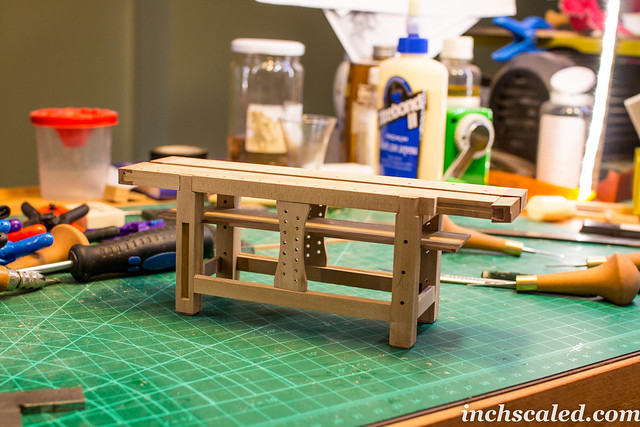
After dry fit, it looks something like this:
I also need to cut some details for the lower shelf, but I’m too lazy to make them now, let’s move on to the vises. As I said before, they are pretty straightforward, nothing difficult, just time consuming I guess. You need to turn and mill nuts and handles, front vises are a bit challenging – I need to make a crisscross mechanism.
This is how it looks in real life.

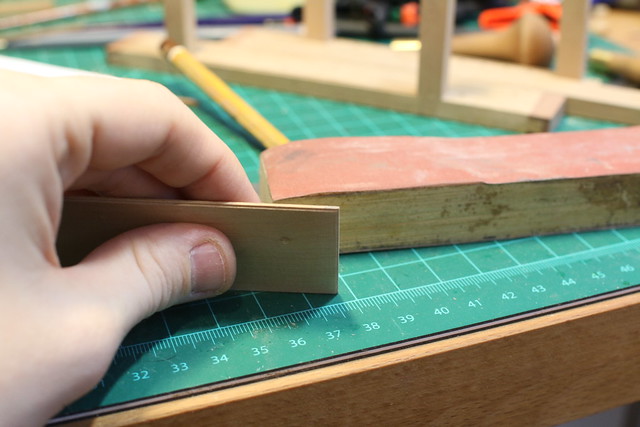
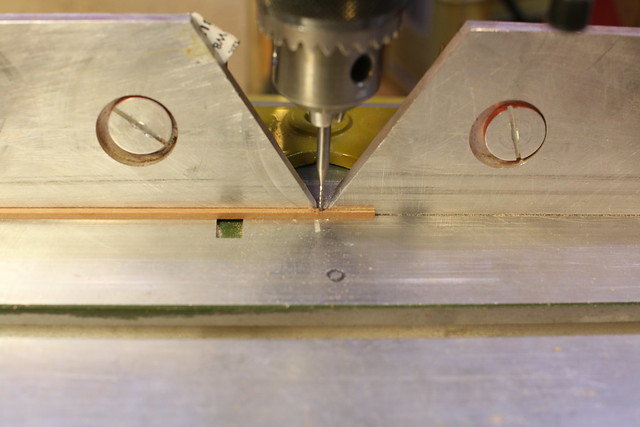
Actually, there are several ways of installing these crisscross arms. Usually they are cast, but I’m not that lucky. I’m making them out of 2mm brass. I cut the shape with my jeweler’s saw, then shaping it with files. Then I take away the rest with my router, freehand routing is quite difficult, but fun! I’m using CNC router bits, quite expensive but reliable.
I made three arms so I had a chance to choose the best samples. I fix them together with a steel rod.
Now we are ready for the final assembly!
 Русский
  English