Roubo Workbench, part 1.
Or read this in Russian
I never thought that I’d be making a workbench! I’m always searching for some new ways of presenting the work that I do. I’m just never happy with the photos that I make, almost. One day, going through a bunch of fantastic Instagram photos of different cabinetmakers, I realized that they are fabulous even when they showed WIP. Still a process, but such a beautiful one. And I thought – what do I have? Just a green cutting mat, a lamp, that’s it. Even my beautiful ginger cat would never fit in. :))) Nothing cute really. And I’m a fan of cute things! :)))
After all, I thought, why not a workbench? It would look like a real workshop. I knew nothing about workbenches, so I bought one of Christopher Schwartz books. And it was quite exciting reading!
I was so impressed that I decided to make a Roubo workbench, well, its modern version. You can find a lot of drawings on Internet, so I didn’t waste my time and picked one.
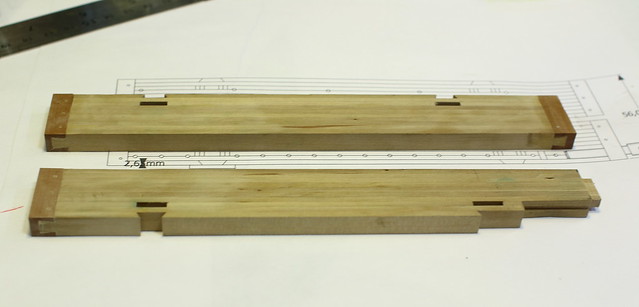
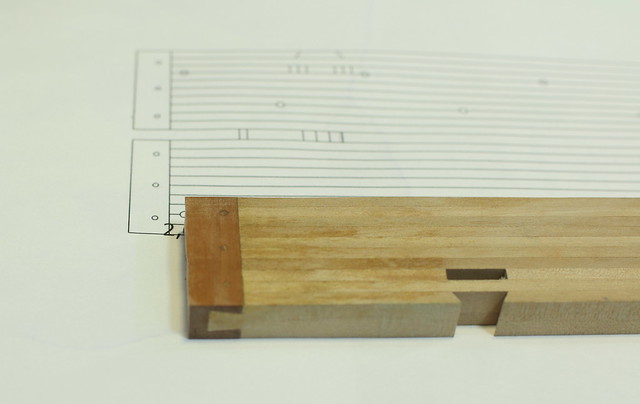
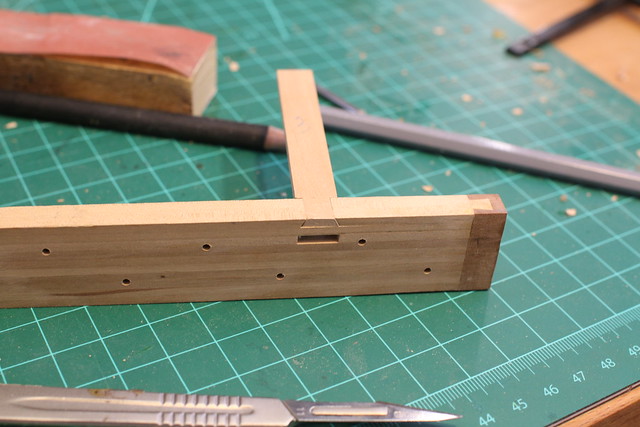
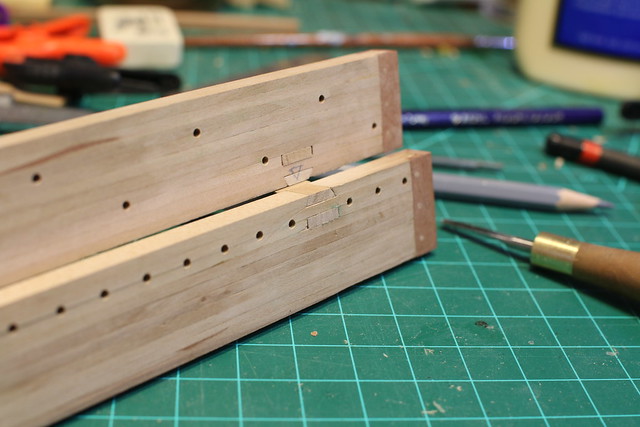
Let’s begin! I start with a top (we have two parts). You can see dovetail joinery on the sides of it. I used steamed pear wood for the contrast.
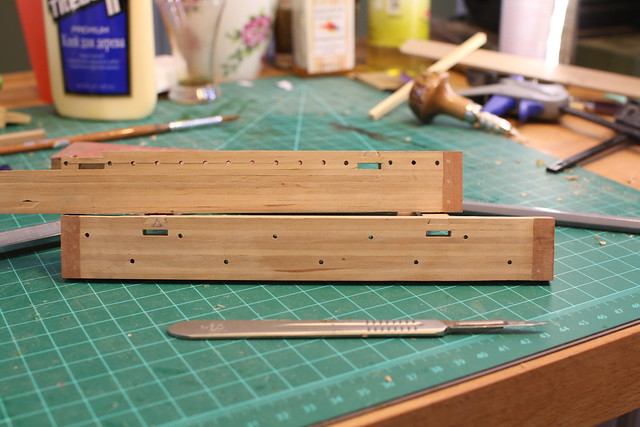
On the photo above you can see the dowels, and while gluing you should leave a space for the legs. And the part on the right is not glued since I’ll be installing vises there.
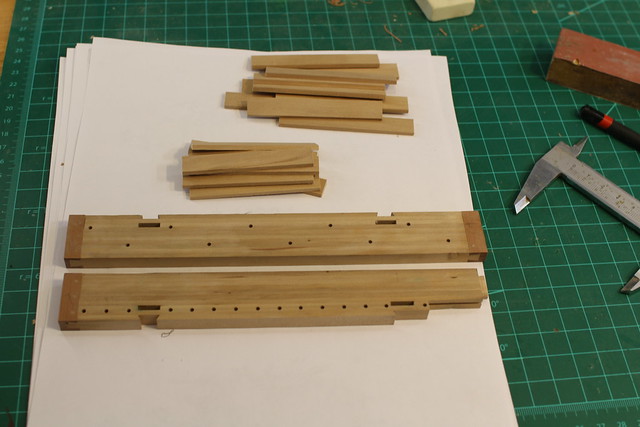
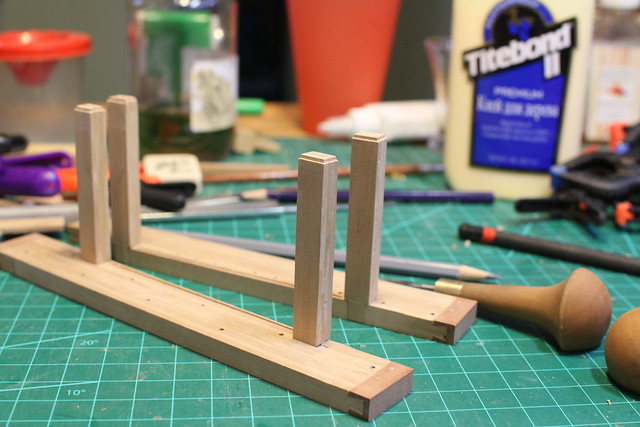
I’m also making the parts of a sliding deadman mechanism.
Drilling holes for clamps.
Moving to legs.
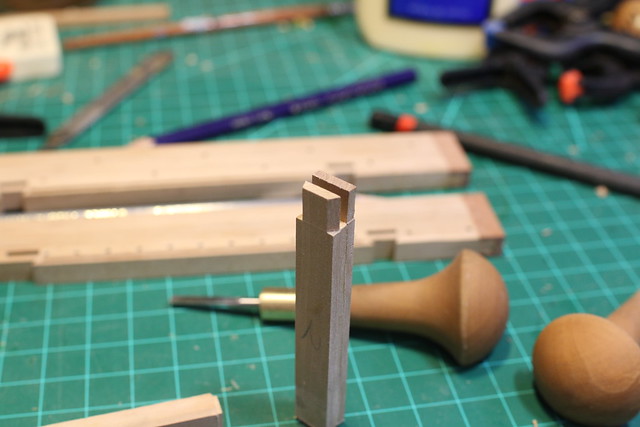
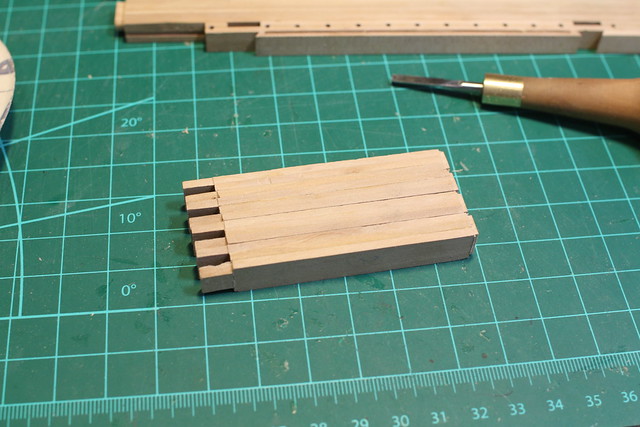
Making tenons.
This is how it looks now.
Dry fit, checking angles.
Now I need to make shelves and details for vises. Wait for the next post.
 Русский
  English