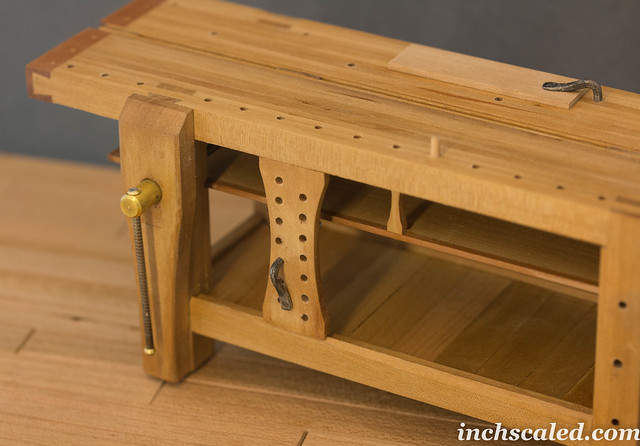
Roubo workbench, part 3, final.
Or read this in Russian
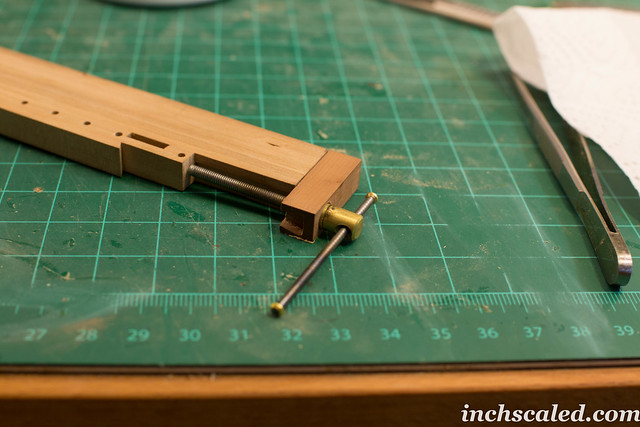
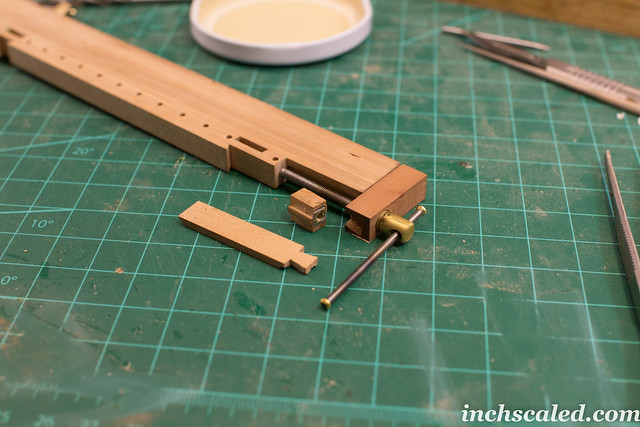
It’s assembling time! I showed a dry fit before, so there won’t be any annoying repeating photos. Let me show vises, for example. Before gluing anything I need to install tail vises and front.I start with tail vises.
At first, I drill a hole, insert the vises, check if everything is symmetrical. That dark detail (made of steamed pear wood) was made twice, because the drill hole was not set correctly. Too bad.
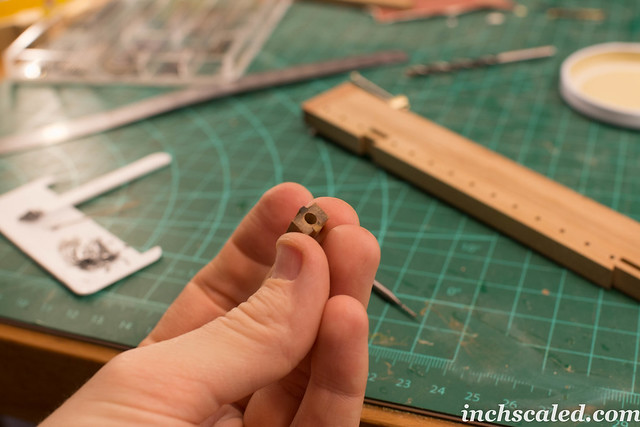
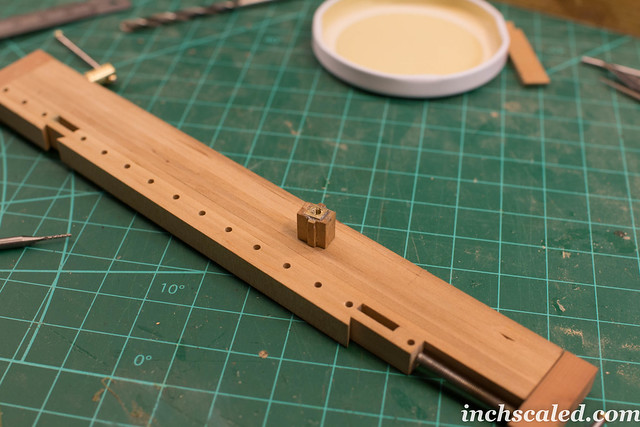
Well, then we have this detail inside the bench top, that’s moving back and forth, so inside this detail I install a nut. Then we make a mortise for it. Let’s hope nothing will crack.
Then we fix this nut with an epoxy glue.
Then we glue the vises all together. Test it.
Short video, everything is working!
Feeling happy moving on to the most challenging part – front vises.
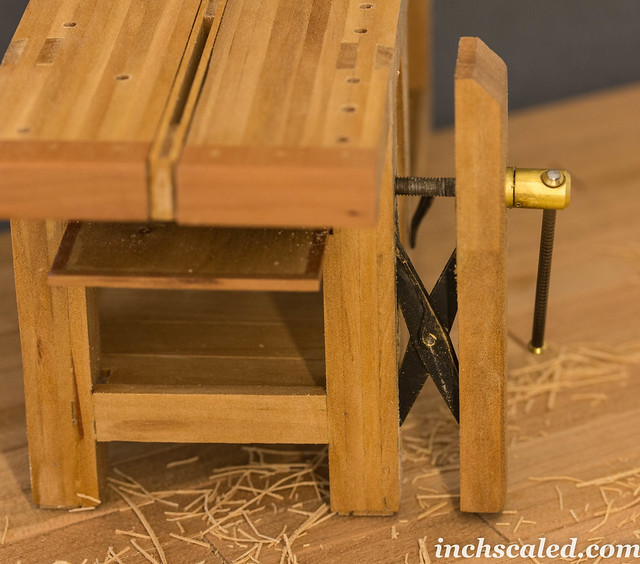
As you remember from the previous post I made this crisscross mechanism.
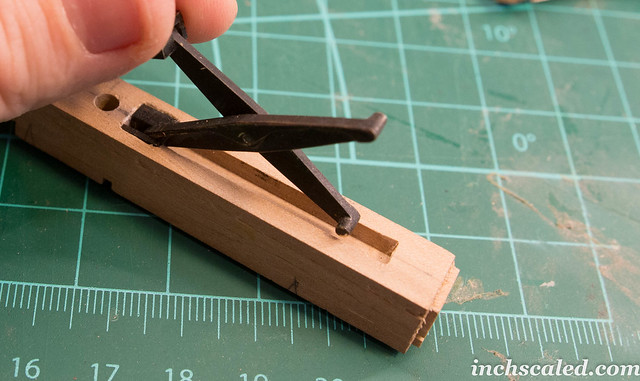
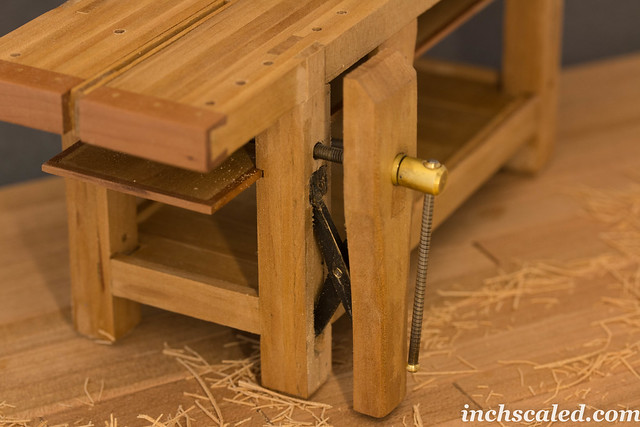
Now I need to install it, the upper parts of the arms need to be fixed with epoxy, the lower ones moving in the slots (the back side of the slot is covered with brass, so that the arm would move easily).
There’s no that brass back side on the photo, I glued it later.
Now I check if everything is alright. Phew.
The only thing I realised during the testing is that I should have made it retro – I mean the lower parts of the arms should have been fixed too. I think in the real size it’s not an issue, since all the parts are quite heavy, but in miniature it could be an issue (all the parts weigh nothing really, so they move to easily anyway.
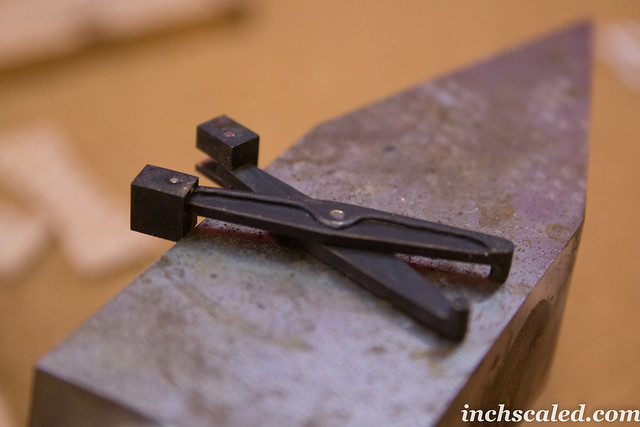
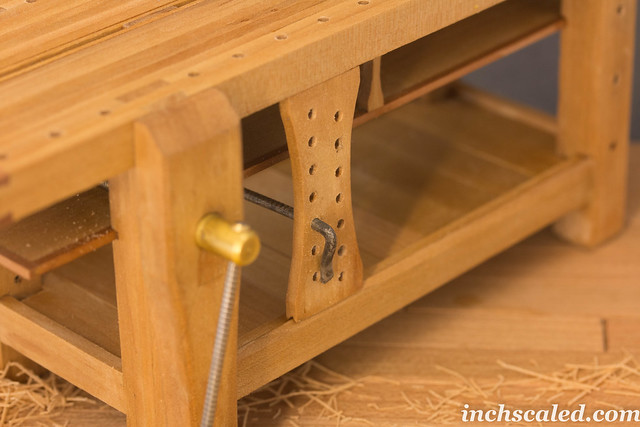
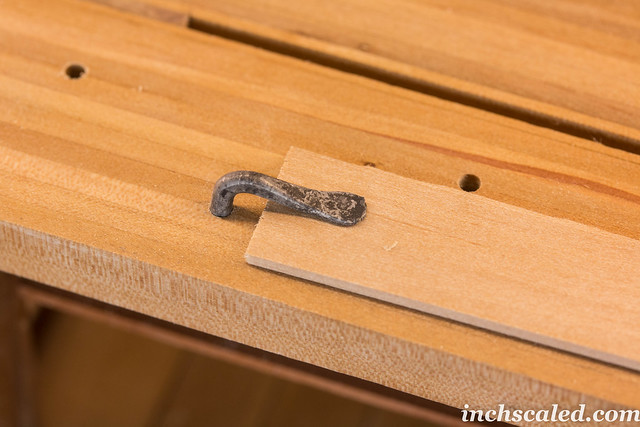
Then I’m forging the clamps. The diameter of all the holes of the workbench is 2mm. I bought lots of steel rod samples before, so it was a good practice. I’m an absolute beginner in forging, so first three clamps were thrown into trash bin. But the rest, and there were four, turned out just fine. Well, almost. One of them actually broke down when I was installing it into the workbench top. Things happen.
Oh, the central slot! I forgot! Too many things to show you. Central slot actually has to be flush with with the top. But when you move it to the side it goes up a bit, and you can use it for hand planing.
Then – the lower shelf. All in order, how it should be.
Well, too many photos, I’m making another post.
Related posts:
Tags: miniature furniture, wip, wip
 Русский
  English