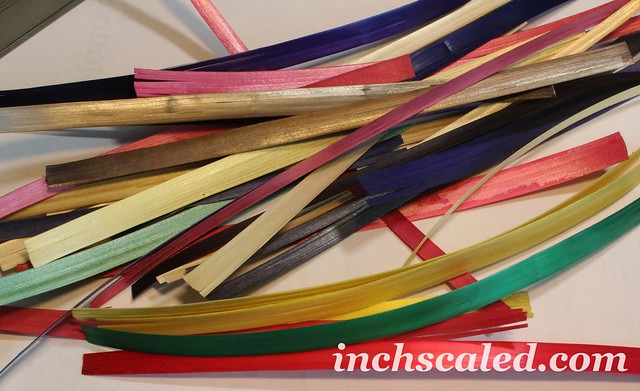
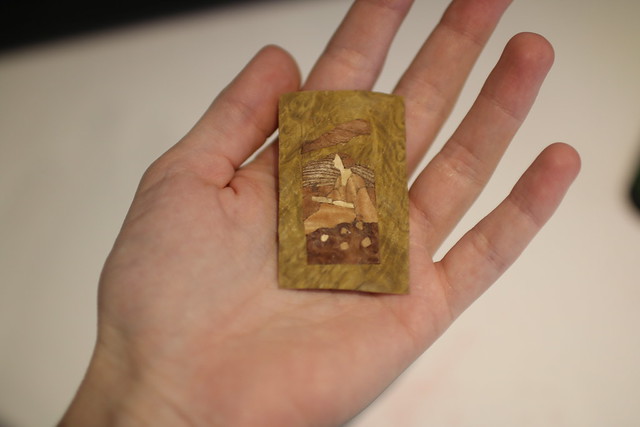
Маркетри. Из соломы.
That awkward moment when you think you almost everything about marquetry and here it is! Something new! Several months ago I was re-watching Cartier collection videos on Youtube with marquetry process and mosaics and somehow I came across another collection – with straw marquetry. I heard only about Chinese tradition of straw pictures before, but this time it was miniature version! And I really wanted to try it.
Making circles with router
I’m all into these Youtube videos, making them is a very exciting process, so I totally forgot that my camera can make photos too! 🙂 So far, I made all the parts for the tables in art deco style. I needed to cut four perfect circles, so it was time to make one more jig (it was the third I think, previous jigs disappeared somehow).
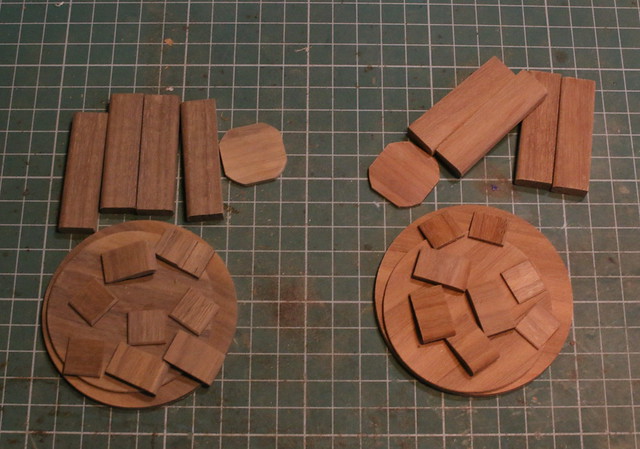
You can make perfect circles in different ways:
- to be perfect at scrollsaw and cut everything by hand.
- Make a jig for a tablesaw.
- Make a jig for a bandsaw, but I think my Metabo bandsaw is too big for the scale.
- Make a jig for a router, which I’ll show.
The jig is very simple and it works. You need to take some scrap MDF piece and a brass nail, you hammer it into MDF, and basically this is it.
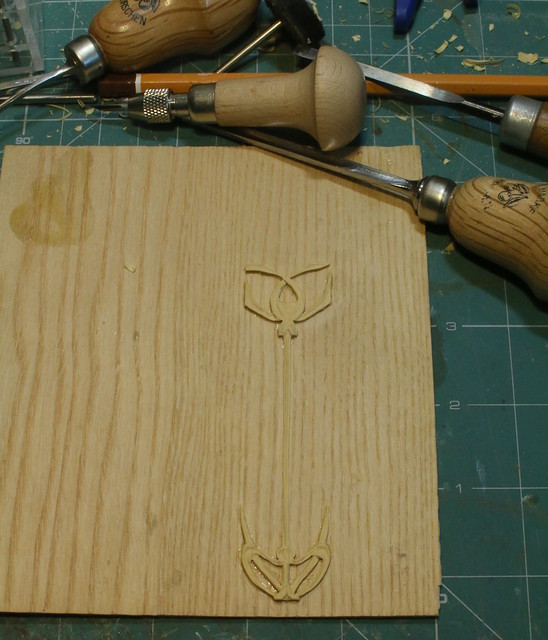
Carving and needlepoint
I finished marquetry panels and started carving central door ornaments. Last time I made my own pear plywood – and what was I thinking? Especially with boxwood veneer I had. This time I decided to use boxwood. And I love it! It’s such a great wood, no excuses . I hope to finish carving tomorrow and then I’ll stain it and glue to the door. I’m quite happy with the details I’ve got now, hope that result will be even better.
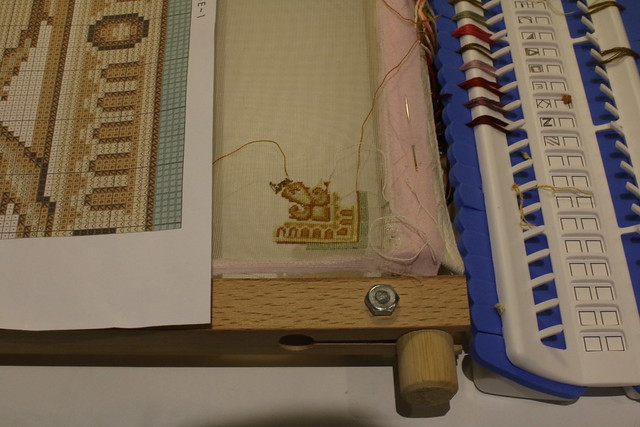
As for something different – I got this beautiful pattern from Nicola Mascall , when I saw it on Facebook I fell in love with this carpet, the colors are magnificent! I promised to myself earlier that I’d never do needlework again, I wanted to work on my bobbin lace mats, but with my baby girl it is quite difficult, she love the bobbins too much. I guess I’ll wait till she grows up a bit. Besides, this beautiful carpet, OMG! I couldn’t help myself! This is my first time stitching with Madeira, quite happy about the result and the back is not bad either! 🙂
First marquetry panel
I didn’t expect that just one panel would take so long. But considering the fact that I have only 3 hours a day (except weekend), it’s not surprising. The new panel is on the left, the old one is on the right. IMO, the new one looks much better. I changed the veneer background, color of mother of pearl, etc. And overall, I see slight improvements in my skill level.

Next week I’ll start the next panel.
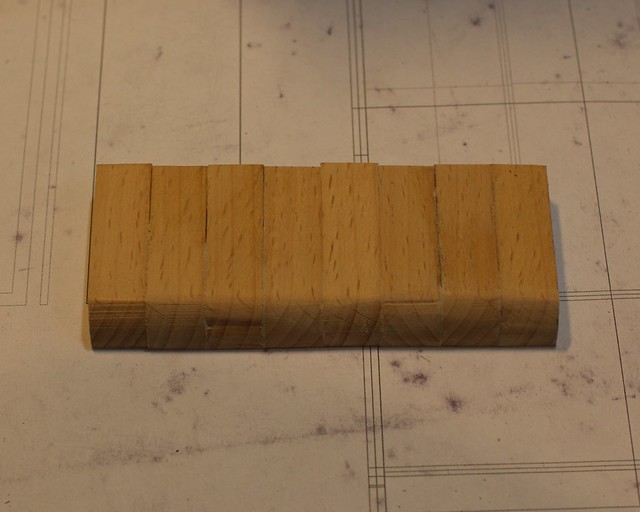
Wardrobe shelf
Today was about making a shelf. I needed to bend veneer sheets for it. But first I made some sort of pattern. I took quite thick piece of beech scrap wood and cut the same pattern several times, then I glued all the parts together.
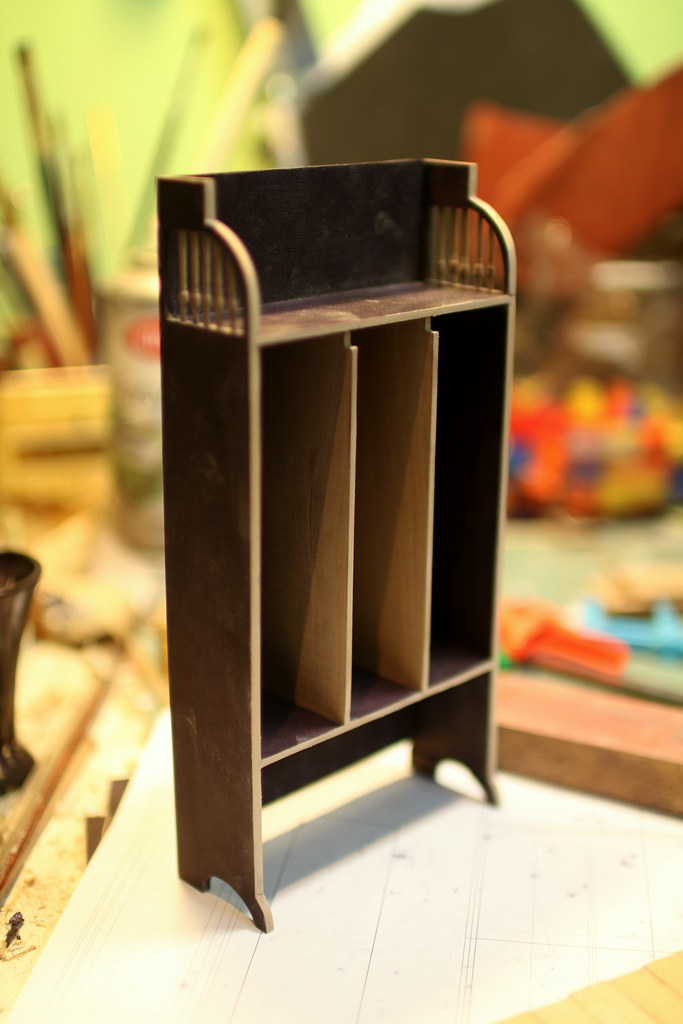
Wardrobe – moldings and frame
There was a lot of work recently, I’m still enjoying the process of building my new art nouveau wardrobe. Lots of things were changed since the last version of it, this time I decided not to use veneered wood, this time the pear was stained, it has a very deep color of purple heart wood. Just like the original piece. The only drawback is that becayse it’s very dark every touch with my fingers left these sawdust spots. Anyway, there’s nothing I can do till the finishing process.
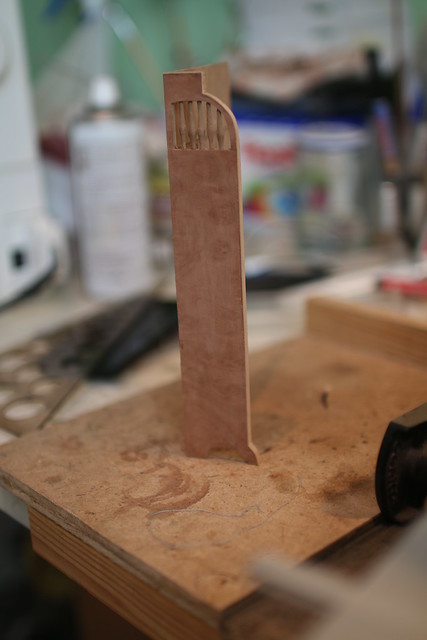
Marquetry wardrobe -WIP
These holidays were too long! I missed my tools and tablesaw:) Before them (damn, it was last year!) I started remaking marquetry wardrobe, which I didn’t even finish. I managed to cut side parts, today was a lathe day!
Here’s the old version of the wardrobe:
Marquetry panels – finished
Well, actually the stand itself is almost done, but I decided to show a bit of process
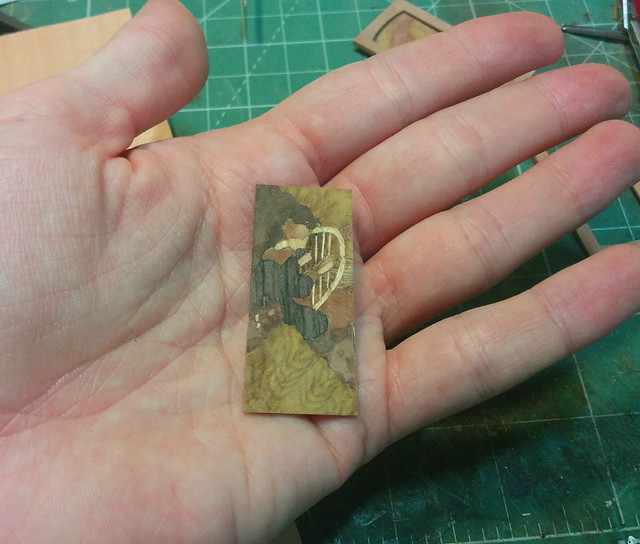
Marquetry for music stand
I only needed one more hour today to finish the second panel for the door, almost half of it is done. So I’ll show only the first one for now. Well, I need to sand it, add couple more details, but overall it’s done.
Rococo Settee – WIP

Well, it’s almost done. Now I need to make an uphosltery. I covered the settee with paper so that it wouldn’t distract from the carving. Uphosltering should be fun – it’s very complicated form to me, but I’ll just have to do it. Carving itself was fun, though it was tricky sometimes to get all the parts together seamlessly.
Читать дальше…