Roubo Workbench, part 1.
I never thought that I’d be making a workbench! I’m always searching for some new ways of presenting the work that I do. I’m just never happy with the photos that I make, almost. One day, going through a bunch of fantastic Instagram photos of different cabinetmakers, I realized that they are fabulous even when they showed WIP. Still a process, but such a beautiful one. And I thought – what do I have? Just a green cutting mat, a lamp, that’s it. Even my beautiful ginger cat would never fit in. :))) Nothing cute really. And I’m a fan of cute things! :)))
After all, I thought, why not a workbench? It would look like a real workshop. I knew nothing about workbenches, so I bought one of Christopher Schwartz books. And it was quite exciting reading!
I was so impressed that I decided to make a Roubo workbench, well, its modern version. You can find a lot of drawings on Internet, so I didn’t waste my time and picked one.
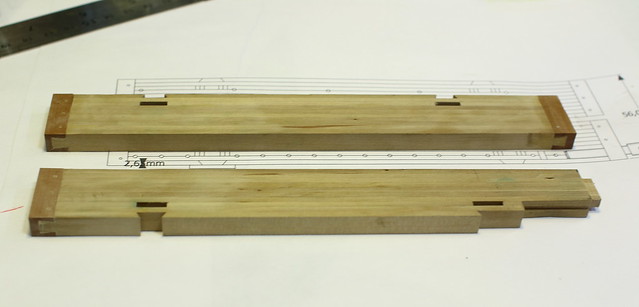
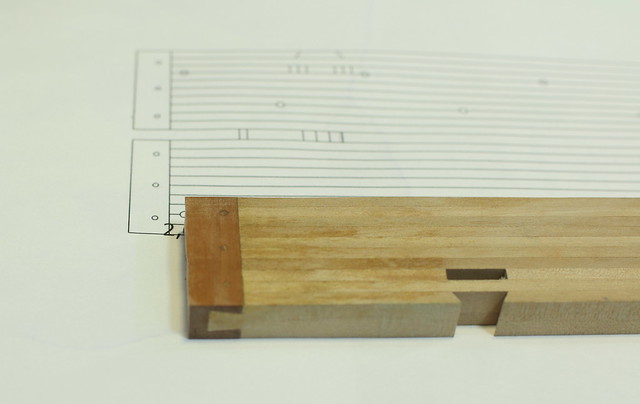
Let’s begin! I start with a top (we have two parts). You can see dovetail joinery on the sides of it. I used steamed pear wood for the contrast.
New project, tuscan table with marquetry top
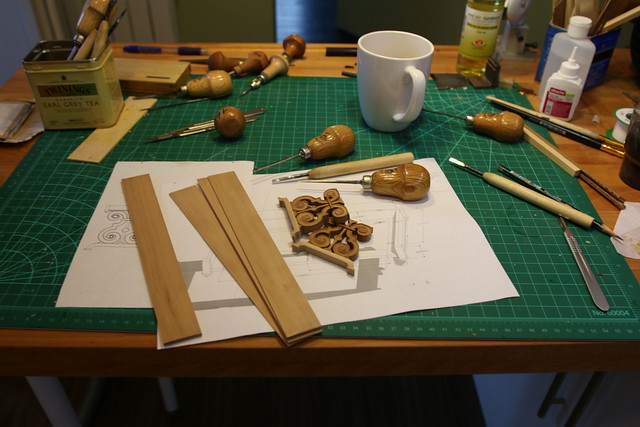
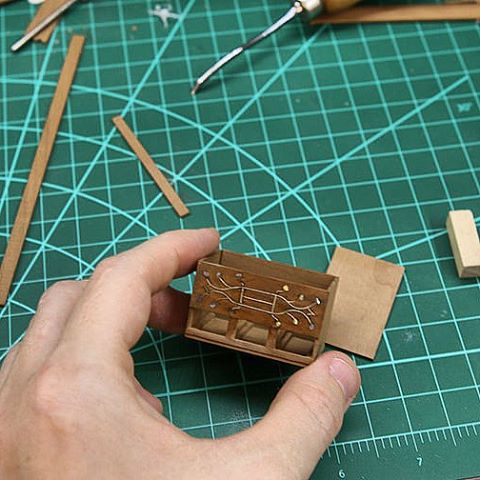
Almost in panic! Christmas festival is only one month away. And I only have time for one more item, this time it will be tuscan table. Lots of work here – carved legs with lots of details, turned parts, marquetry top, drawers… This table is kinda huge for me, legs are 7mm thick, quite unusual for me.
Dollhouse bricks. Almost real!
There are some things that truly inspire. They can make you create a whole room just for them. And recently I found one in Russian social site. In one of the groups I saw a post about miniature bricks with lots of photos, and I was blown away. It’s hard to find an artisan in Russia who creates such complicated things (I’m speaking about technology and process involved) from scratch.
I loved the bricks and instantly wanted to buy them though I had no idea how I could use them, besides I’m making furniture mostly, not roomboxes (sigh). Minutes later I decided to make some sort of decoration for one of my items for Christmas Kensington Festival. I ordered 2kg of bricks.
Dmitry, an artisan who makes these bricks, was also very kind, he sent me bricks of another scale too (1/9) and half-bricks. Look how cool they are:
Lots of photos below:
Inlaid Spice Chest- WIP
My new project is inlaid spice chest that I found in some of the Popular Woodworking issues.
New table saw sled
Well, holidays are almost over, and I started a new project. My kid’s grandpas and grandmas are helping me a lot, as I need to prepare for Christmas festival in December. Several posts ago I was selling Proxxon table saw, I also have FET model, and I was going to buy Byrnes’ table saw after that. Well, I was too optimistic about that! At first, we moved to the new apartment, then all these sanctions and oil prices cause the horrible currency rate, and dollar price skyrocketed. Then I need some (hehe, some!) money for London trip. So Byrnes remains in my dreams only, alas.
But I still have FET, the only thing I didn’t have any jigs for it, and I need them badly!
My first must-have is table saw sled. This time I used acrylic and found a laser cut service that cut all the details I needed. I ordered actually three sets, but only one is assembled for now.
Acrylic 3mm and 10mm is used here.
Маркетри. Из соломы.
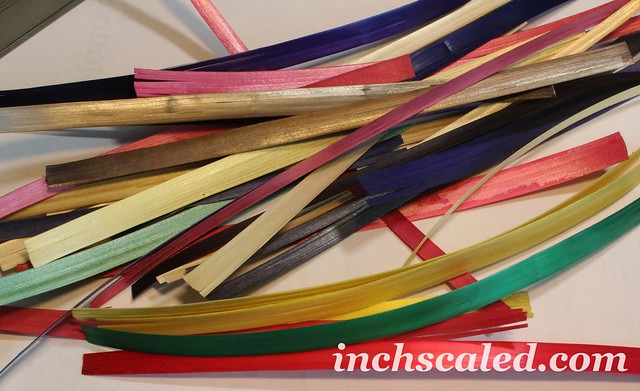
That awkward moment when you think you almost everything about marquetry and here it is! Something new! Several months ago I was re-watching Cartier collection videos on Youtube with marquetry process and mosaics and somehow I came across another collection – with straw marquetry. I heard only about Chinese tradition of straw pictures before, but this time it was miniature version! And I really wanted to try it.
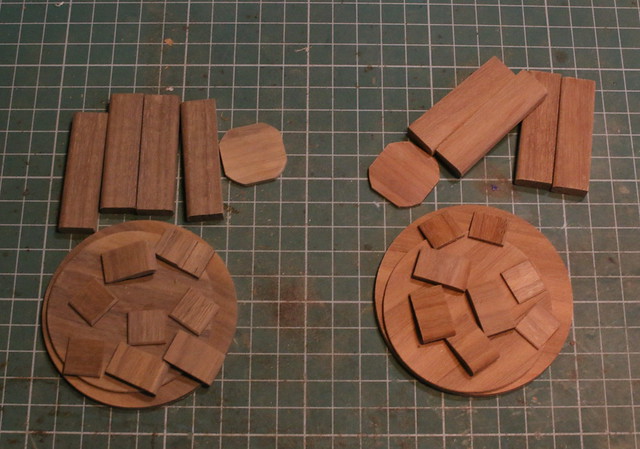
Making circles with router
I’m all into these Youtube videos, making them is a very exciting process, so I totally forgot that my camera can make photos too! 🙂 So far, I made all the parts for the tables in art deco style. I needed to cut four perfect circles, so it was time to make one more jig (it was the third I think, previous jigs disappeared somehow).
You can make perfect circles in different ways:
- to be perfect at scrollsaw and cut everything by hand.
- Make a jig for a tablesaw.
- Make a jig for a bandsaw, but I think my Metabo bandsaw is too big for the scale.
- Make a jig for a router, which I’ll show.
The jig is very simple and it works. You need to take some scrap MDF piece and a brass nail, you hammer it into MDF, and basically this is it.
Carving and needlepoint
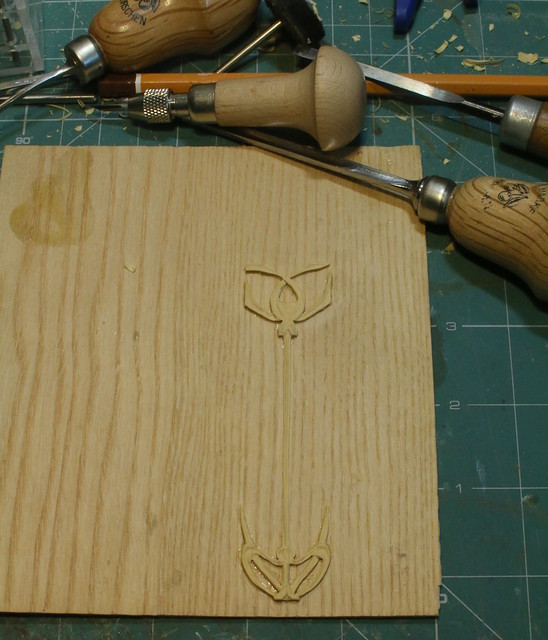
I finished marquetry panels and started carving central door ornaments. Last time I made my own pear plywood – and what was I thinking? Especially with boxwood veneer I had. This time I decided to use boxwood. And I love it! It’s such a great wood, no excuses . I hope to finish carving tomorrow and then I’ll stain it and glue to the door. I’m quite happy with the details I’ve got now, hope that result will be even better.
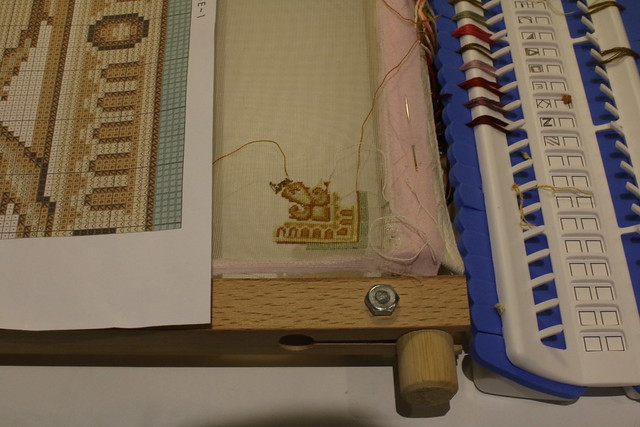
As for something different – I got this beautiful pattern from Nicola Mascall , when I saw it on Facebook I fell in love with this carpet, the colors are magnificent! I promised to myself earlier that I’d never do needlework again, I wanted to work on my bobbin lace mats, but with my baby girl it is quite difficult, she love the bobbins too much. I guess I’ll wait till she grows up a bit. Besides, this beautiful carpet, OMG! I couldn’t help myself! This is my first time stitching with Madeira, quite happy about the result and the back is not bad either! 🙂
First marquetry panel
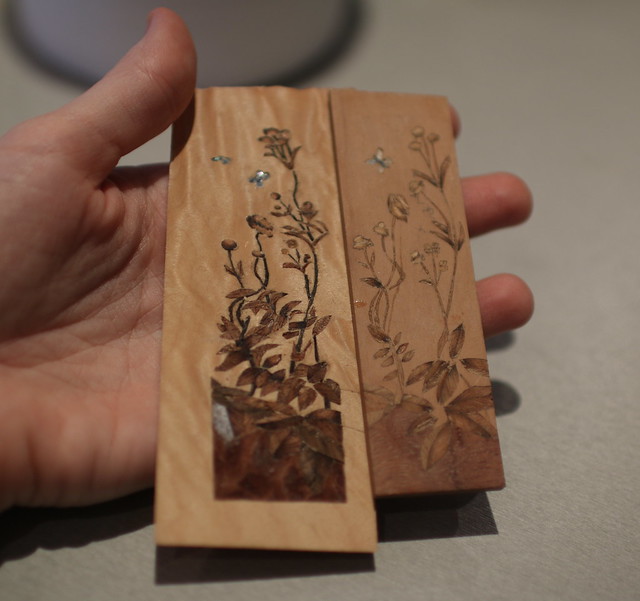
I didn’t expect that just one panel would take so long. But considering the fact that I have only 3 hours a day (except weekend), it’s not surprising. The new panel is on the left, the old one is on the right. IMO, the new one looks much better. I changed the veneer background, color of mother of pearl, etc. And overall, I see slight improvements in my skill level.
Next week I’ll start the next panel.
Wardrobe shelf
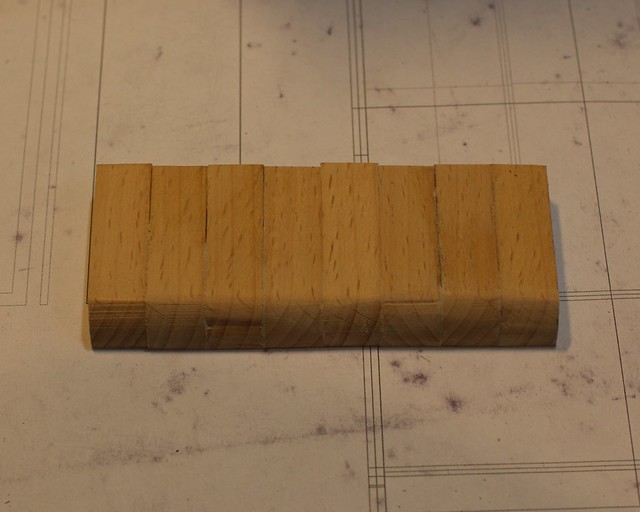
Today was about making a shelf. I needed to bend veneer sheets for it. But first I made some sort of pattern. I took quite thick piece of beech scrap wood and cut the same pattern several times, then I glued all the parts together.
 Русский
  English