Rococo Settee – WIP
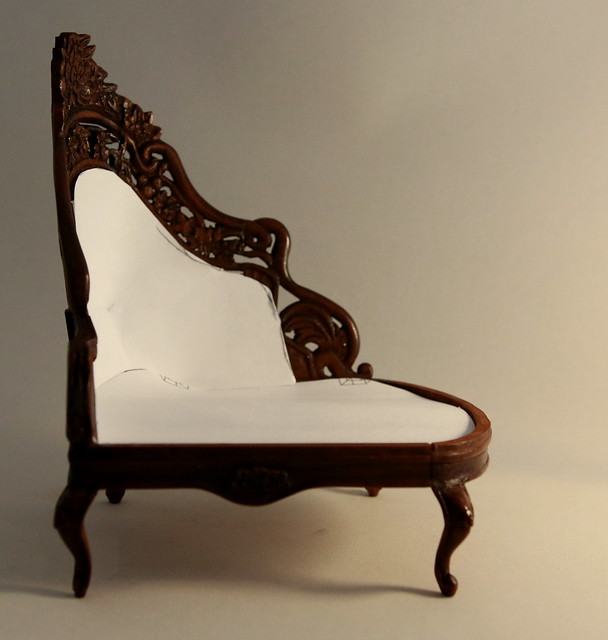
Well, it’s almost done. Now I need to make an uphosltery. I covered the settee with paper so that it wouldn’t distract from the carving. Uphosltering should be fun – it’s very complicated form to me, but I’ll just have to do it. Carving itself was fun, though it was tricky sometimes to get all the parts together seamlessly.
Read more…
Carving, lots of it!
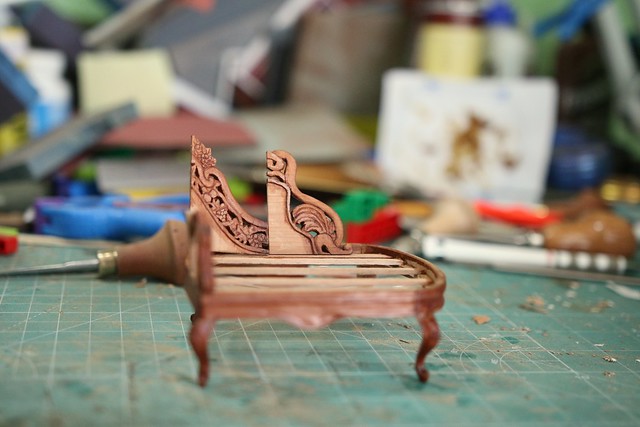
Wow, I thought it would be much more difficult to make it work! This settee is quite a challenge. The back is very interesting, so I had to figure out the workflow for it. Despite using 3d software I still needed to rely on my own measuring skills.
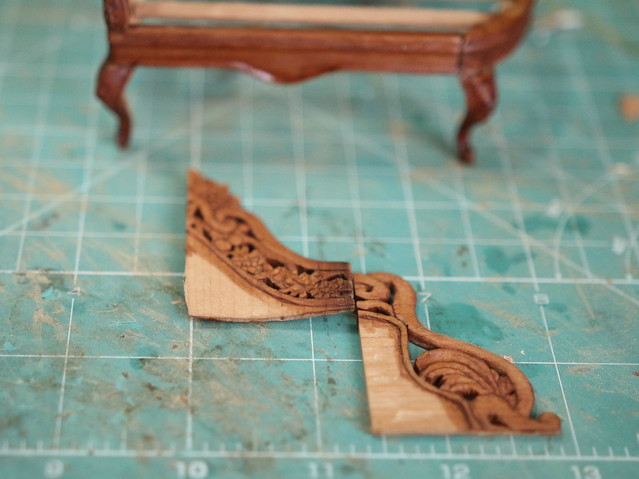
Now the fun part began – carving, lots and lots of it! I “finished” 2 parts, another 2 on the way. I hope that the next week will be all about upholstery, fingers crossed!
Art Nouveau Side Cabinets.
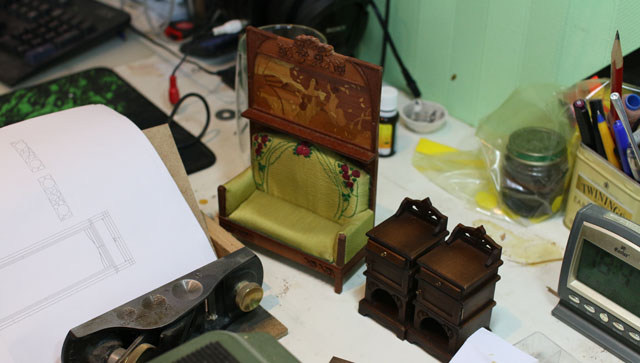
Well, it’s finally time to make side cabinets for my art nouveau sofa. 🙂 Here it is:
I don’t even remember why I didn’t make them, I started making carved panels, they are somewhere, in one of five huge boxes with scrap wood, hehe. I won’t waste my time on looking for them. It’s much easier to make new ones. Besides I had a very rough sketch in Google Sketchup, so I made a new one in Rhino. So far so good, I found quite good mahogany strips, though I still need to make lots of veneer, 2mm.
Art Nouveau bedside tables.
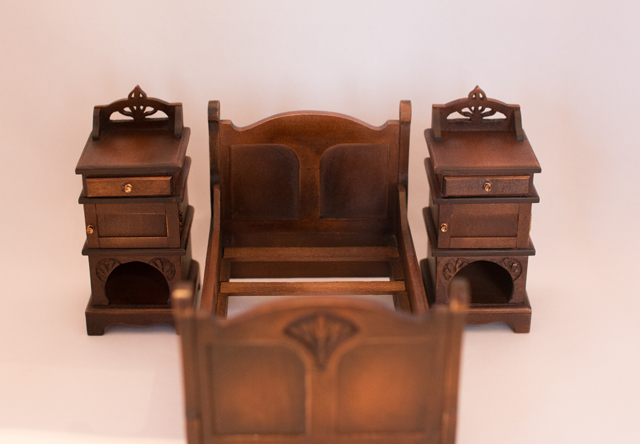
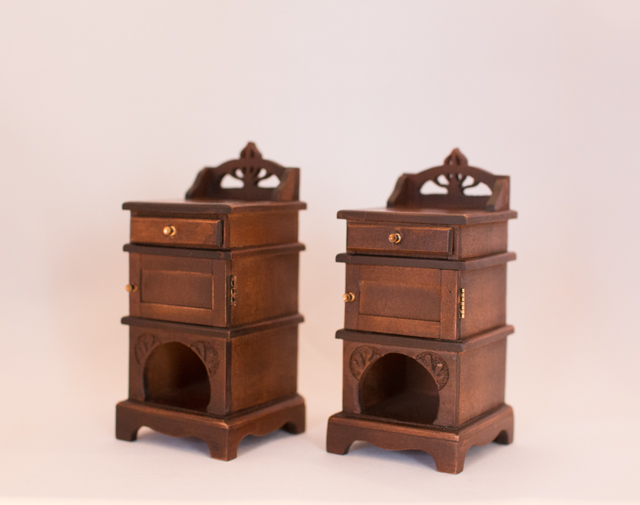
Working very fast lately, these time – two bedside tables. So the whole bedroom set is finished.
The only thing – when I started making photos today, I thought, hm, the bed is actually for one person only, so why two tables? 🙂 Nevermind, I enjoyed making both.
I’m taking the set to Kensington Festival this year, this morning I found that my UK visa was issued! I didn’t get the passport with it yet, so I’m still “worried” 🙂
Art nouveau Bed
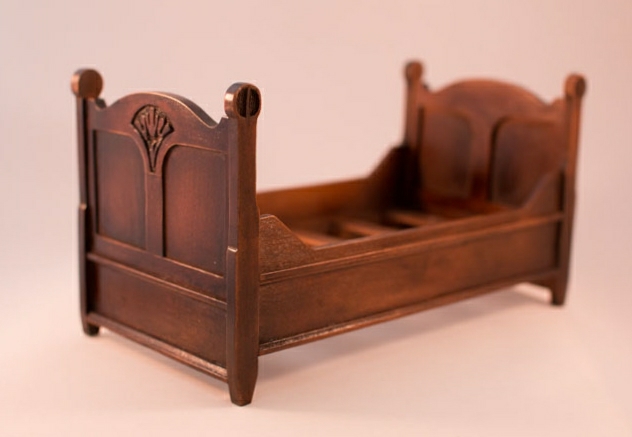
Art nouveau bed is finished. I really like the result. It looks quite old, just what I wanted to achieve with staining pearwood.
Chairs
I always wanted to try different art nouveau styles, if I may say so. This time – Vienna Secession, Koloman Moser. At first, I spotted his beautiful wardrobe, but then I saw these chairs and immediately started making drawings.
I really liked this dove marquetry piece – its size in 1/12 is 13 mm on 13 mm. Part of the wings are made with mother of pearl, two types actually.
Something new for the roombox and KDF
I’m very very close to finishing my part of the roombox. Foot warmer – made with boxwood.
Size – 35X 25 X20 mm.
Before that I made a cittern. It is made with cherry wood, for strings I used extra fine silk thread I ordered in Belgium some time ago.
Its length is about 7cm.
And bellows, I wish I could make them all fancy, carved, decorated, but I had to make it simple, it’s a copy, so…
I also used cherry wood, cotton and brass.
And the last but not least – yesterday I got a contract from Kensington Dollshouse Festival (May, 17 an 18 in 2014) . I just couldn’t be happier to be honest. I sent two pieces of furniture in June and very soon received the email that I was added to the list of exhibitors. I was late for Bishop Chicago Show by the way, well, still very happy to go to London next year with my family.
Now it’s time to choose the furniture, style etc. Have to make a whole collection, wow.
Dutch Chairs
I made these Dutch chairs recently, they are without textile for now, but I’ll fix it on the next week. I made both out of cherry wood, no shellac and patina yet. The main “problem” was – four lions that I needed to carve. I went through several sites and found pretty good one with 3d models, I bought one – lion’s head, basically it’s door knob, but it looked perfect for chairs, so I took it as a reference. What I like about 3d models is that you can rotate them to any angle you want, you’ll be able to see all the details. This time it was really fun to work. Here’s the result:
In my last post I wrote about poor man’s duplicator. This time I used pre-cut chisels again – but only for two shapes – round 1mm and 2mm. The rest is by hand. I’m still planning to make lathe duplicator, hopefully next month.
Now I’m moving to making quite unusual pieces for me, never made them before. I hope to show them to you soon.
Commissions and new router fence.
Some time ago I made a post about a router and a self-made wooden fence for it, (it was three years ago, time flies!) Well, not much has changed since that time, the only thing that became worse, was the fence itself. In the place where the fence and the router bit meet you could see uneven ends. So when you were working with tiny moldings, the accuracy of the the work suffered very much. My husband offered me to make a metallic fence for the router, and here’s the result:
It’s a bit taller than the wooden one, but you can change the width of it, so you can fit any router bit neatly. The view from behind, it’s very easy to remove it.
 Русский
  English