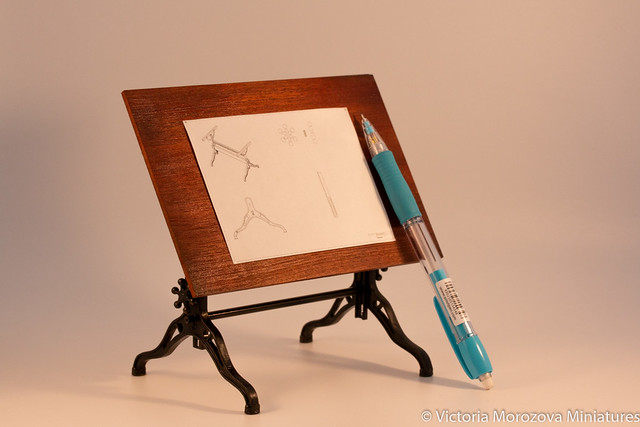
A drafting table.
As I wrote many times I hate working with metal, but this is the only thing that interests me now. Funny enough, I love brass casting, maybe because the only thing I have to do is model making.
Anyway, one day I notice those wonderful vintage drafting tables and architect’s tables and fall in love with them. It’s a very unconventional item, not many people want them in their dollhouses, but it was a chance for me to try metal construction. It became so easy for me planning a piece for woodworking purposes that I thought metal would be something similar for me. Oh boy, I was wrong, big time.
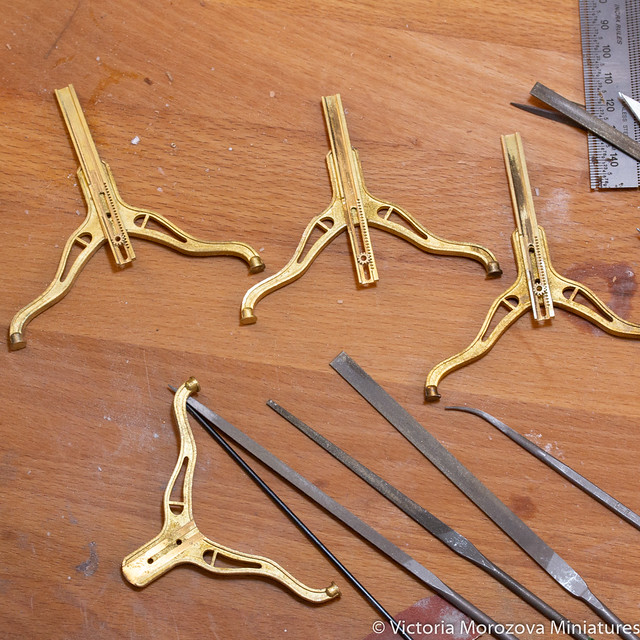
The table I made is simple, but there are couple of things that maybe not so easy to make – gears for height adjustment, table top angle adjustment. The parts are quite big, so you cannot just solder them together (and of course I thought I could when I was making a 3d model).
Here are casted pieces
Roubo workbench, part 3, final.
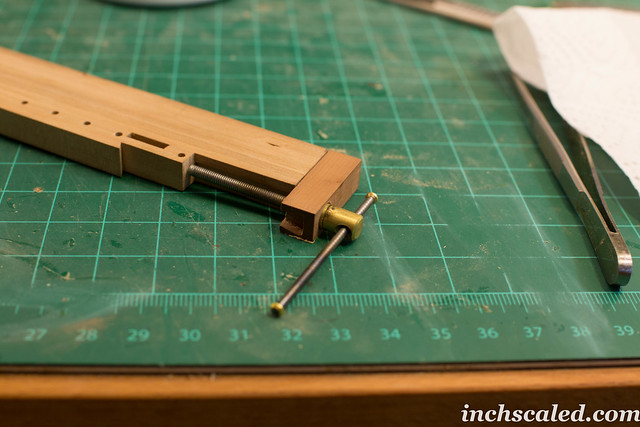
It’s assembling time! I showed a dry fit before, so there won’t be any annoying repeating photos. Let me show vises, for example. Before gluing anything I need to install tail vises and front.I start with tail vises.
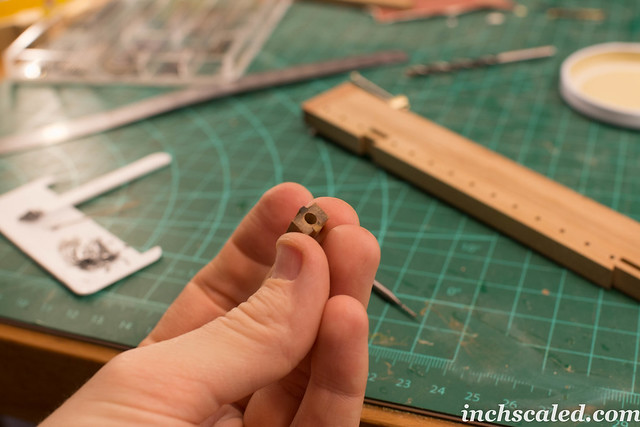
At first, I drill a hole, insert the vises, check if everything is symmetrical. That dark detail (made of steamed pear wood) was made twice, because the drill hole was not set correctly. Too bad.
Well, then we have this detail inside the bench top, that’s moving back and forth, so inside this detail I install a nut. Then we make a mortise for it. Let’s hope nothing will crack.
Dining Room Chandelier
Happy New Year everyone! I hope you had wonderful holidays!
Mine were quite lazy and quiet, I managed to make a frame for this dining room chandelier. And as it turns out – the main problem here is making perfectly round brass or copper rings. Usually I use brass as it’s stiffer and doesn’t change the form easily. But this time I had only copper strips from photo etching.
First Floor Lamp
I’ve finished the first floor lamp for my dollhouse, here how it looks. I was planning it for a living room.
Floor Lamp
The last week was very busy, I’ve made this floor lamp base, made several lace bookmarks/mats, I need to finish this Torchon book till the New Year Eve.
Second Floor
I finished the chairs and moved on to my dollhouse, now it’s the second floor, lots and lots of work here. The rooms are dusty and look very sad without lights, I need to make several lamps ASAP 🙂
One more chandelier
Last time I posted the frame and some flowers for a chandelier, this time the process of soldering:

I made the roses and leaves with polymer clay, every flower is attached to copper wire. To cover soldered spots I used acrylic paste.
Here is the result:
I totally forgot to show you the original chandeliers that inspired this work. Actually, I saw a lot of them in different antiques catalogs, usually French. But recently I found some Spanish chandeliers, also very beautiful. I also found that some were made with porcelain flowers, some with glass, some flowers were made of copper and brass. Also I saw all kinds of shapes and colors. Just perfect for me !:) Usually I see such chandeliers called Louis XV-style.
Here’s one of the chandeliers I found:
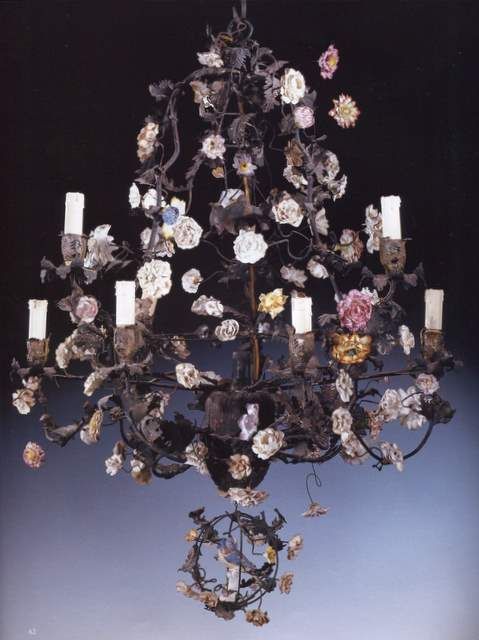
A bit too dark for me, to be honest, but lovely.
I decided to make a central lamp out of bead:
My first choice was the pink one, but later I found that it was too dark for my LED lamp. So I took transparent one.
It was worth it:
And as I used LED light, you can see that it shines only in one direction. Not really good for a room.
So I decided to try this lifehack – super glue and a bit of tin foil. You glue it to the tip of the lamp and here it is – the foil reflect the light, so it looks much better now. You can see by comparing previous photo with the one below. Obviously, the room is darker than it looks on the photo, but the direction of light is well seen. Maybe it’s just my perception, I don’t know 🙂
One more photo:
And about LED lamps, usually I don’t like them at all, most of them give this cold white light, that looks awful. I found some with warm white light, but they were a bit too big for using in miniature. So my husband suggested that we could buy LEDs with wave length= X-0.33. Y-0.36. Don’t ask me what it means 🙂 It’s all my husband ideas, he suggested that such LEDs were neutral white, not cold white. And I think he was right, the one in photos looks “warmer” to me than the ones I have. These LEDs are 5mm diameter.
I liked the result – so I think I’ll keep on looking for small warm-white LEDs.
Flowers
I’m in the process of making flowers for chandelier, also need to make leaves too.
I got the package from US Amazon today with two books – one on metal spinning (need more theoretical ground) and another one on Torchon lacemaking (yeah, I’m a lacemaking addict now). The metal spinning book is fantastic, it’s paperback though with black and white photos, but the contents are great with lots of useful tips and tricks. My husband loved it too, so he tried to make something out of brass. Look good to me!
I really wanted to make some copper pieces, but since I don’t have needed thickness sheets, it will be all about brass, and possibly aluminum soon. Right now I don’t have clear ideas about what I could make, I need to check my antiques catalogs.
 Русский
  English