Brass table lamps in Victorian Style
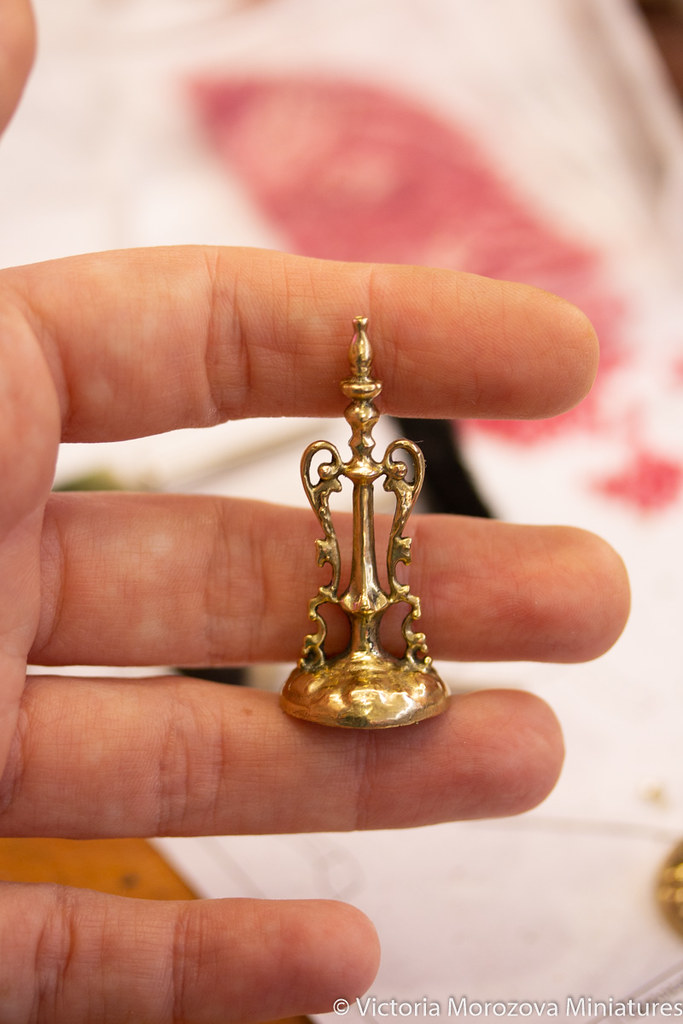
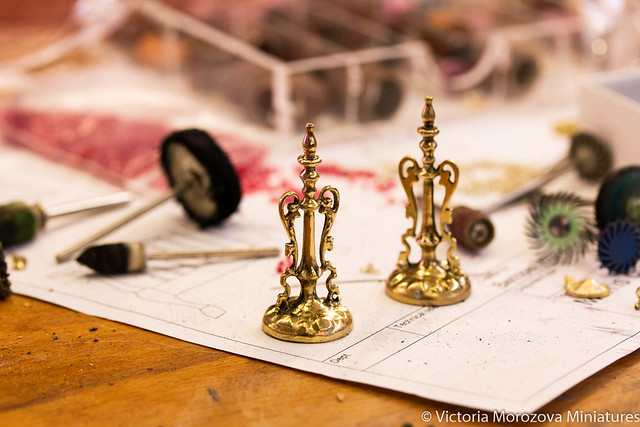
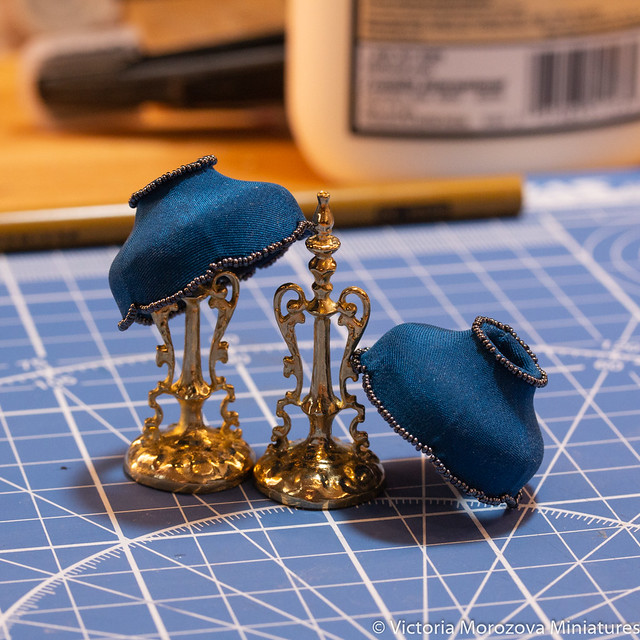
I continue my work on brass casting techniques, I really like the process of modeling and want to improve it. I started from simple brass lamps in Victorian style.
The lamp shades are covered with silk and decorated with 16/0 beads, I couldn’t find any smaller.
The lights are not working yet, they will be LED lights, but I also bought some traditional so maybe I’ll change them.
Lots of stuff
Last week I was busy with making a fringe for my first chandelier, this was the first time I was making it with bobbins and silk. Here how it looked:
The problems started when I tried it on, the fringe wasn’t wide enough, if there would be just two extra millimeters – I’d be the happiest person. I was a bit upset, two days of work and all for nothing. I had to use pre-made fringe from the local craft store. I also think that I made a huge mistake using silk, it looks just fine on furniture but not on chandelier, you’d need much coarser thread than silk, metal threads are really the best choice here. And this time I was quite happy with the result.
First Floor Lamp
I’ve finished the first floor lamp for my dollhouse, here how it looks. I was planning it for a living room.
Floor Lamp
The last week was very busy, I’ve made this floor lamp base, made several lace bookmarks/mats, I need to finish this Torchon book till the New Year Eve.
Christmas lights
Christmas is near, so I started making minis especially for this wonderful time of year. This year was all about my art nouveau house so I thought it would be nice to have a Christmas tree there. With lights 🙂
I went through some internet shops and to be honest was a bit disappointed – those light looked bulky to me. So here’s a possible solution – SMD LED lights. Read more…
Making lighting for roombox
Remember that art nouveau roombox that I made some time ago? It was sold but came back to me, because I was asked to make lighting for it. That flower chandelier was made especially for this room. I also needed to make that Tiffany table lamp functional. I decided to try LEDs for this project. They are much brighter and don’t burn out as often as usual bulbs. I was looking for warm light LEDs for quite a while, and I was lucky to find very small (5 or 3mm, I don’t remember) and very cheap ones. So the first problem was solved.
The only problem with LEDs is that you have to find appropriate resistors, so say hello to physics course at school you hated so much. Ohm’s law – I had to look it up in Wikipedia for the first time in so many years. I had the resistors I needed but all this counting, colour code etc. was a bit too overwhelming to me. My husband though was curious enough to find a good video about so called LED drivers that would eliminate my problem with resistors. Here it is – http://www.chipdip.ru/en/video.aspx?vid=ID000306334. To make it easier for you, these LEDs drivers provide constant current of 20 mA in a circuit (most LEDs that I have are 20 mA), so you don’t need to count anything just connect this driver to a simple circuit. It’s very small by the way:
From the left to the right – small case for three drivers, driver itself and driver with small pins to make the soldering easier. So if you lazy to learn all this Ohm’s magic, drivers will save a lot of time for you.
For my chandeliers I used three LEDs, they are very small, so it wasn’t a problem.
One more chandelier
Last time I posted the frame and some flowers for a chandelier, this time the process of soldering:

I made the roses and leaves with polymer clay, every flower is attached to copper wire. To cover soldered spots I used acrylic paste.
Here is the result:
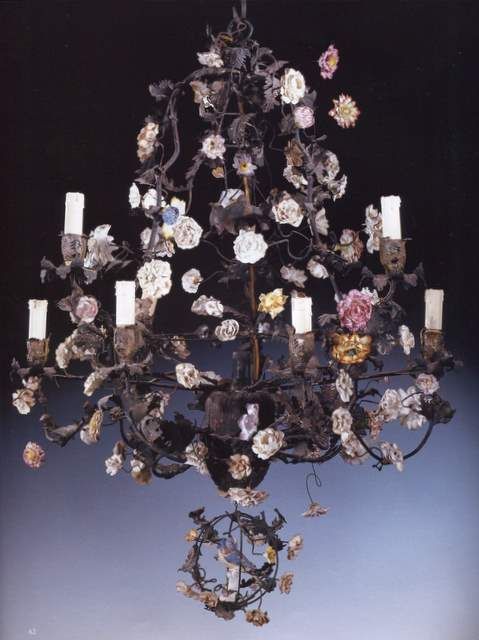
I totally forgot to show you the original chandeliers that inspired this work. Actually, I saw a lot of them in different antiques catalogs, usually French. But recently I found some Spanish chandeliers, also very beautiful. I also found that some were made with porcelain flowers, some with glass, some flowers were made of copper and brass. Also I saw all kinds of shapes and colors. Just perfect for me !:) Usually I see such chandeliers called Louis XV-style.
Here’s one of the chandeliers I found:

A bit too dark for me, to be honest, but lovely.
I decided to make a central lamp out of bead:
My first choice was the pink one, but later I found that it was too dark for my LED lamp. So I took transparent one.
It was worth it:
And as I used LED light, you can see that it shines only in one direction. Not really good for a room.
So I decided to try this lifehack – super glue and a bit of tin foil. You glue it to the tip of the lamp and here it is – the foil reflect the light, so it looks much better now. You can see by comparing previous photo with the one below. Obviously, the room is darker than it looks on the photo, but the direction of light is well seen. Maybe it’s just my perception, I don’t know 🙂
One more photo:
And about LED lamps, usually I don’t like them at all, most of them give this cold white light, that looks awful. I found some with warm white light, but they were a bit too big for using in miniature. So my husband suggested that we could buy LEDs with wave length= X-0.33. Y-0.36. Don’t ask me what it means 🙂 It’s all my husband ideas, he suggested that such LEDs were neutral white, not cold white. And I think he was right, the one in photos looks “warmer” to me than the ones I have. These LEDs are 5mm diameter.
I liked the result – so I think I’ll keep on looking for small warm-white LEDs.
Glass beads for miniature lights
Last week I received a package with lace bobbins (50 pairs), they were all unspangled, so I went to the nearest beads shop to buy some beads. I love this place, lots of cute things, I cannot leave it without buying something. I found these wonderful glass beads, but they are not for bobbins, I’m afraid.
As these two weeks were all about making lights I immediately thought these beads would make perfect lamp shades. You would just need to cut them in half.
I googled at first to find someone who did it before but to no avail. So, here’s my first try.
You need Proxxon/Dremel/whatever tool, diamond wheel and sticky tape. Glasses for protection and mask is a must for me too. I also marked a cutting line on the bead.
Here’s how you need to fix the bead on a tape:
And just cut it off! 🙂 At first I thought that glass would break, but I was lucky, the edge is even. You can also sand the bead to make it even better 🙂
Nice one:
I’m very excited about it,there’s lot of beads with different sizes and shapes, lot’s of things to explore.
 Русский
  English


